Audit
The audit feature allows you to view the history of actions on domains. The list displays:
- date and time of the action;
- login of the user who made the changes;
- action description;
- user's IP address.
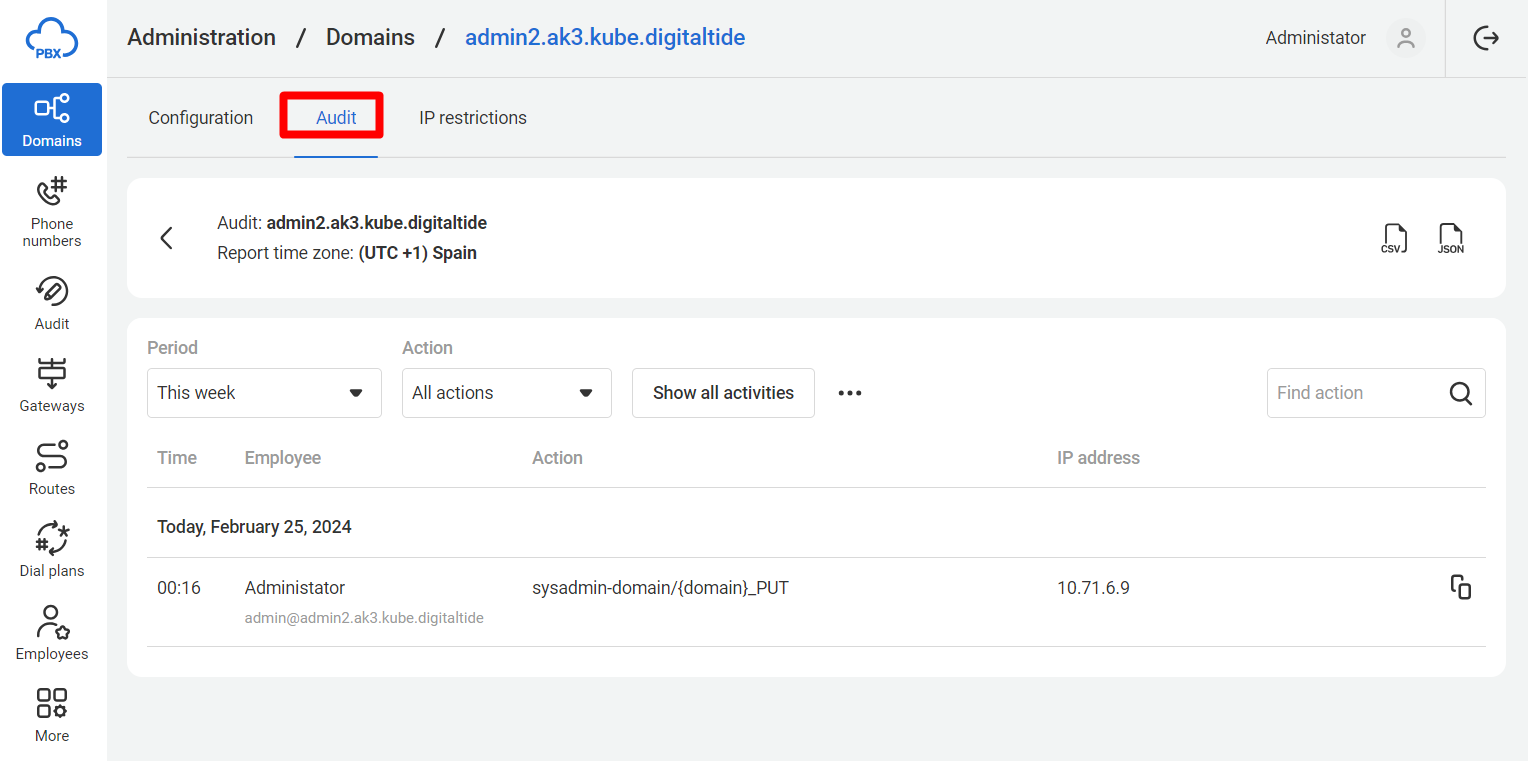
Audit is displayed in two sections:
1. TheDomain section: there is an Audit tab where you can view the action history for a specific domain.
2. The Audit section: it displays the action history for all domains, including the operator's. You can filter the action history for a specific domain using the Domain filter.
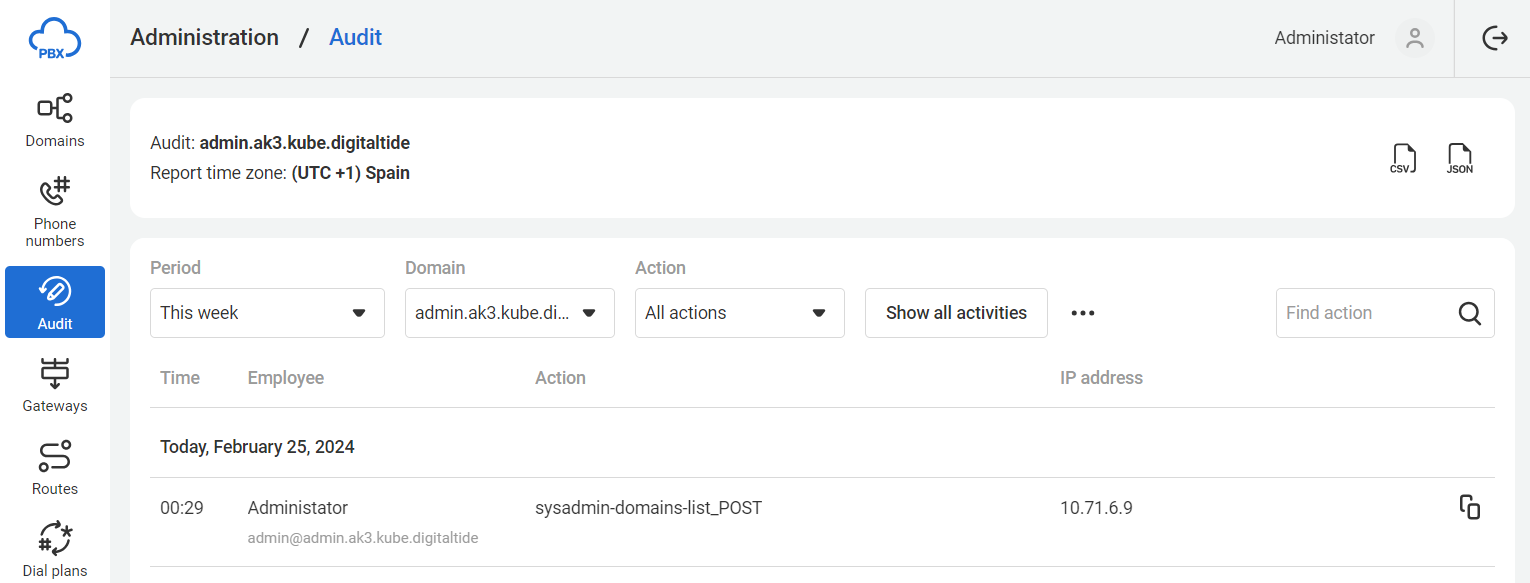
Let's explore the audit capabilities using the Audit section as an example.
Viewing Action Details
To view detailed technical information about an action, click the corresponding action row. This expands the row with detailed information.
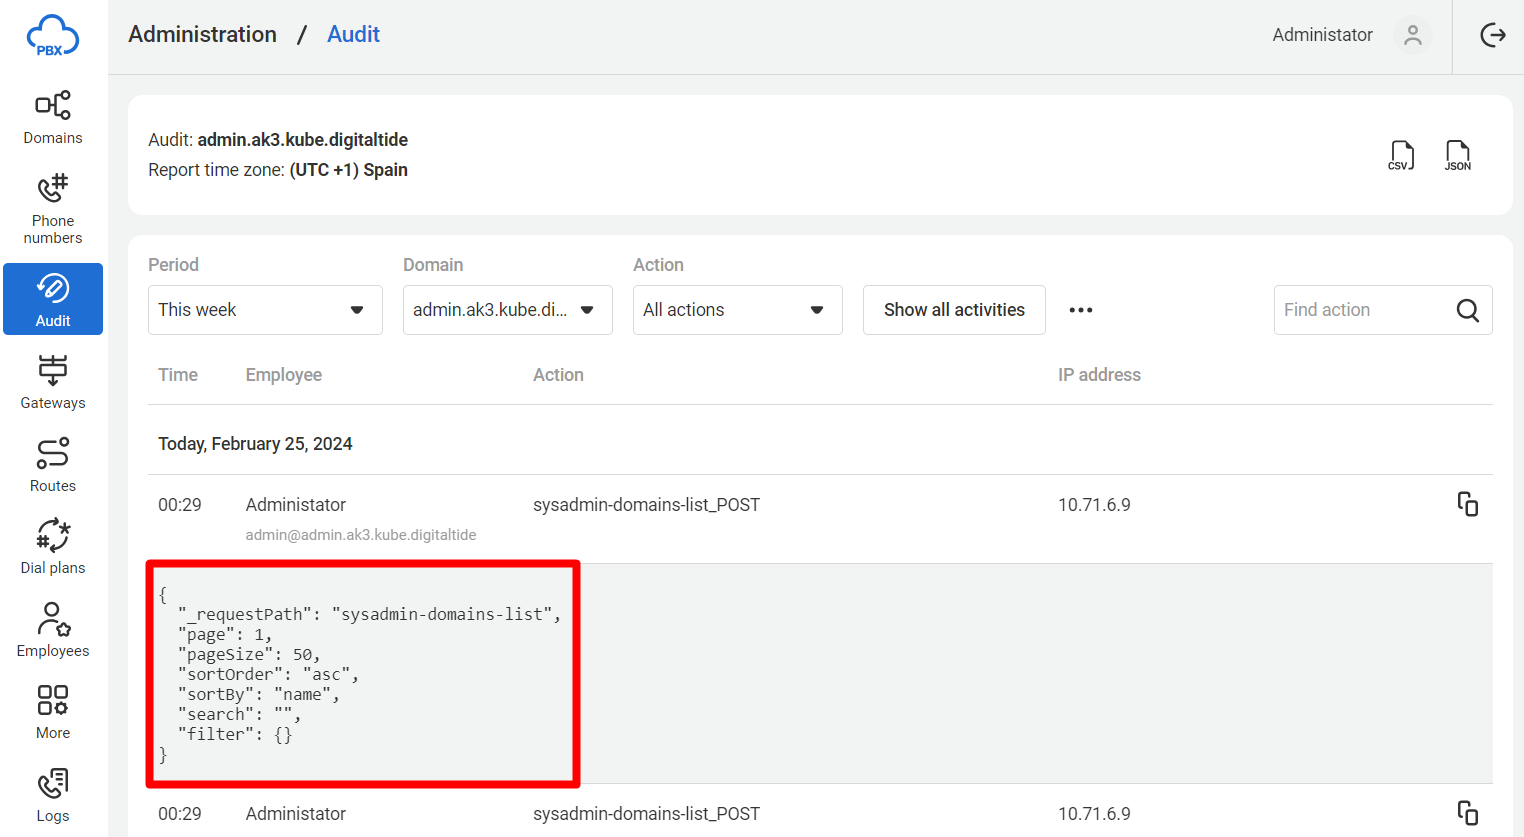
To view details for all actions at once, click the Show all activities button. Clicking the button again hides details for all actions.
Filtering Action History
1. Using the Period filter you can quickly filter actions for today, yesterday, the current or previous week, and the current or previous month. You can also specify a custom period, opening a calendar for the last three months.
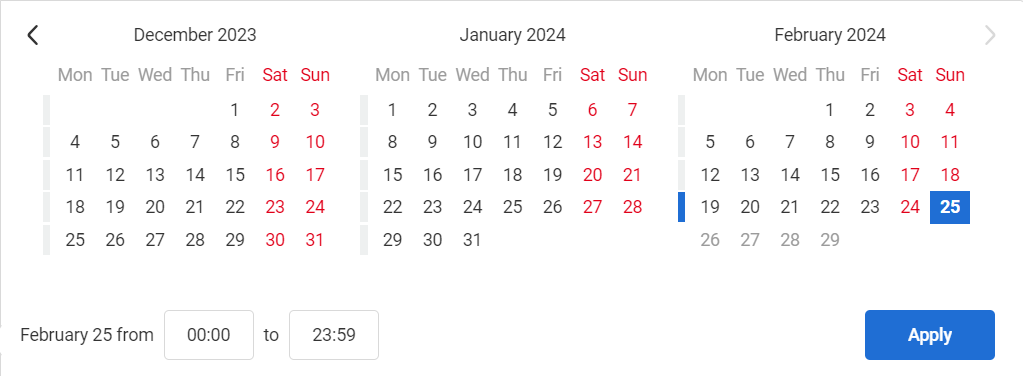
Blue cells mark dates from the creation of the domain to the current day. You can navigate the calendar left/right if needed.
Select start and end dates from the blue cell range. The selected range cells turn blue, and the period description appears below the calendar. Then click the Apply button.
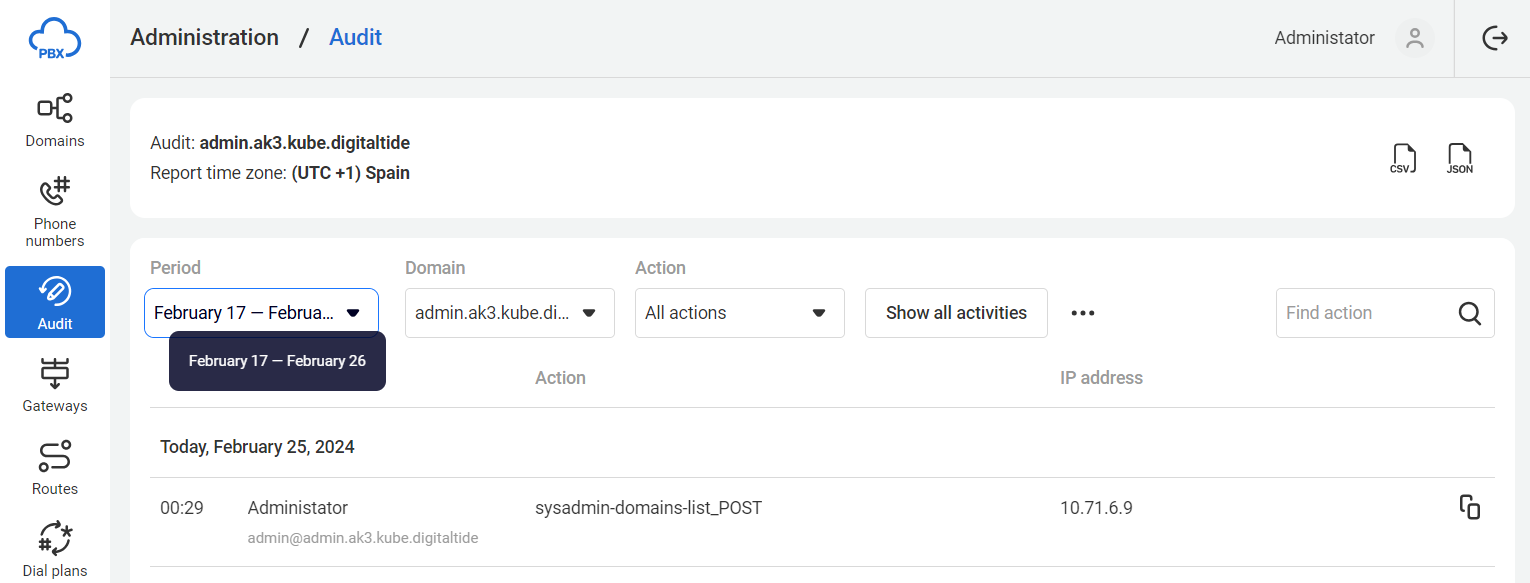
2. Domain — in this filter, select any domain you created or the operator interface itself.
3. Action — this filter displays only those action categories performed on the domains you created and in the operator’s interface.
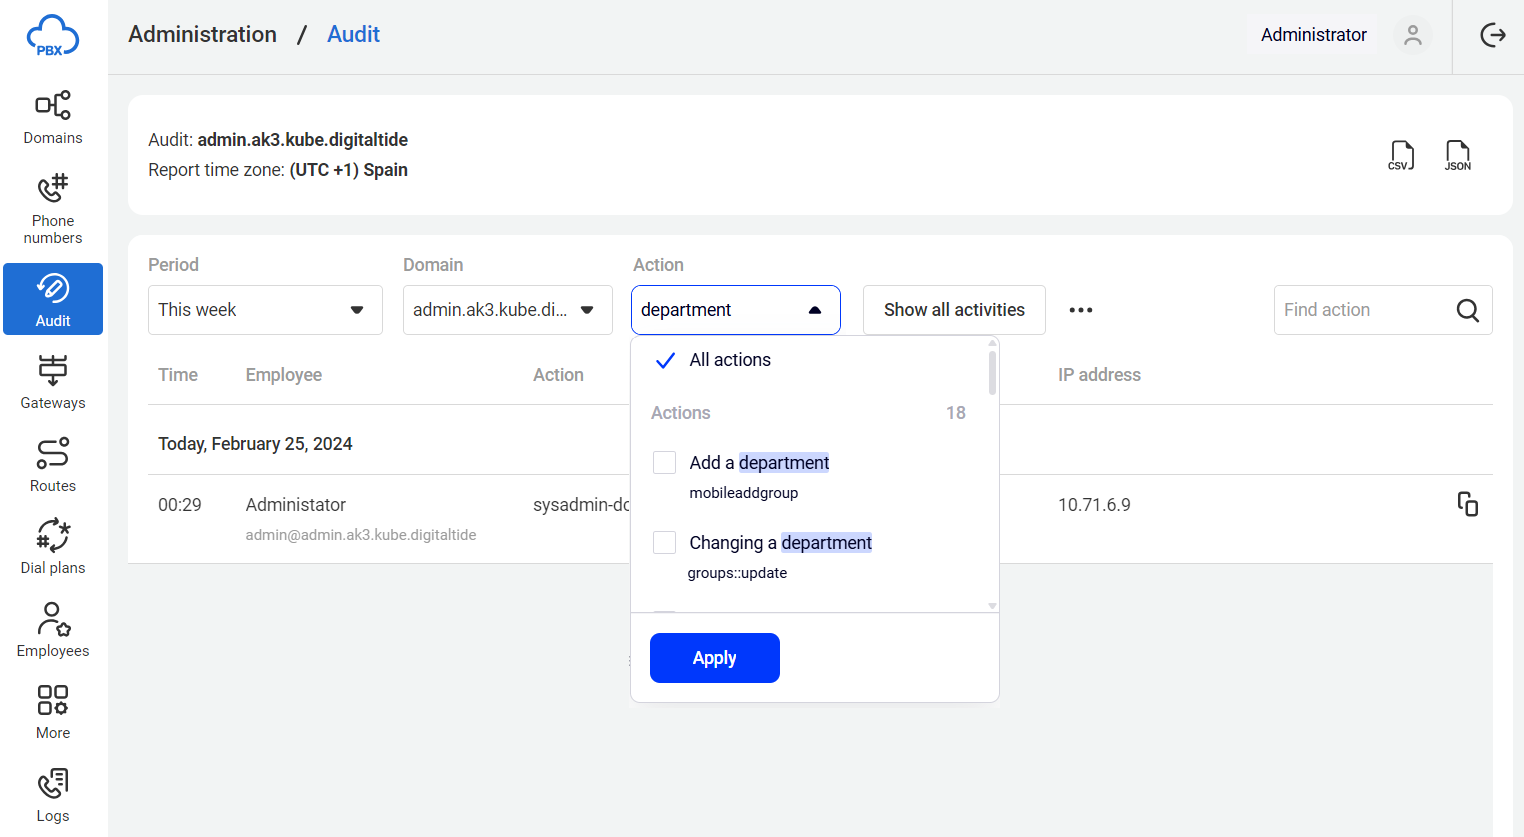
To avoid scrolling through the entire list of actions, enter keywords related to the actions you are interested in. You can also search for specific actions by method names.
4. User role — here you can filter actions separately by employees and domain users.
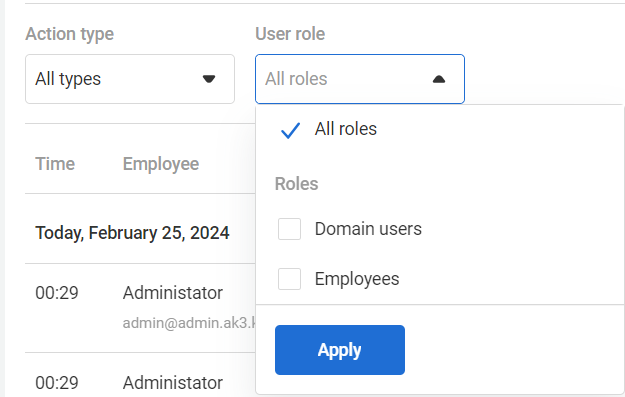
Exporting Action List to JSON or CSV
1. In the top right corner, click one of the two buttons: the left one — to download a file in the CSV format, the right one — to download a file in the JSON format.
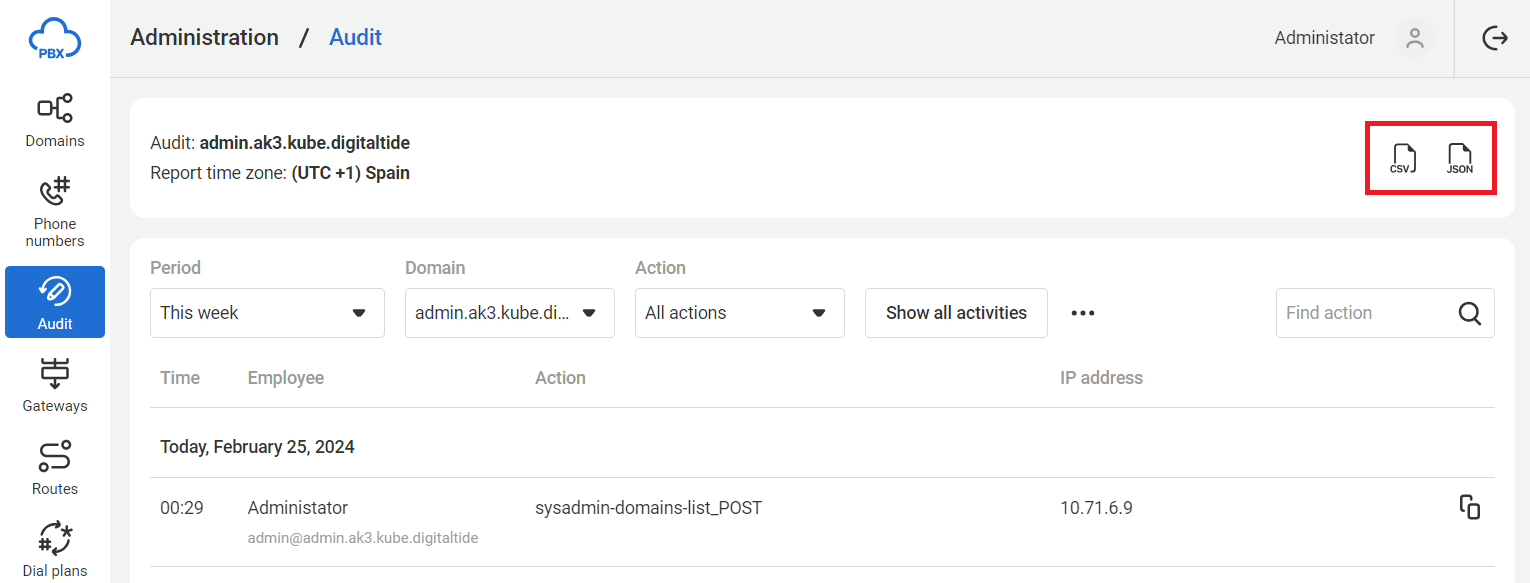
2. A file-saving window will open. Specify the filename and click Save to initiate the download.
Note. If the browser settings don't prompt for the download folder, the file saving window will not appear and the download will start immediately after clicking the button.
Searching for Actions
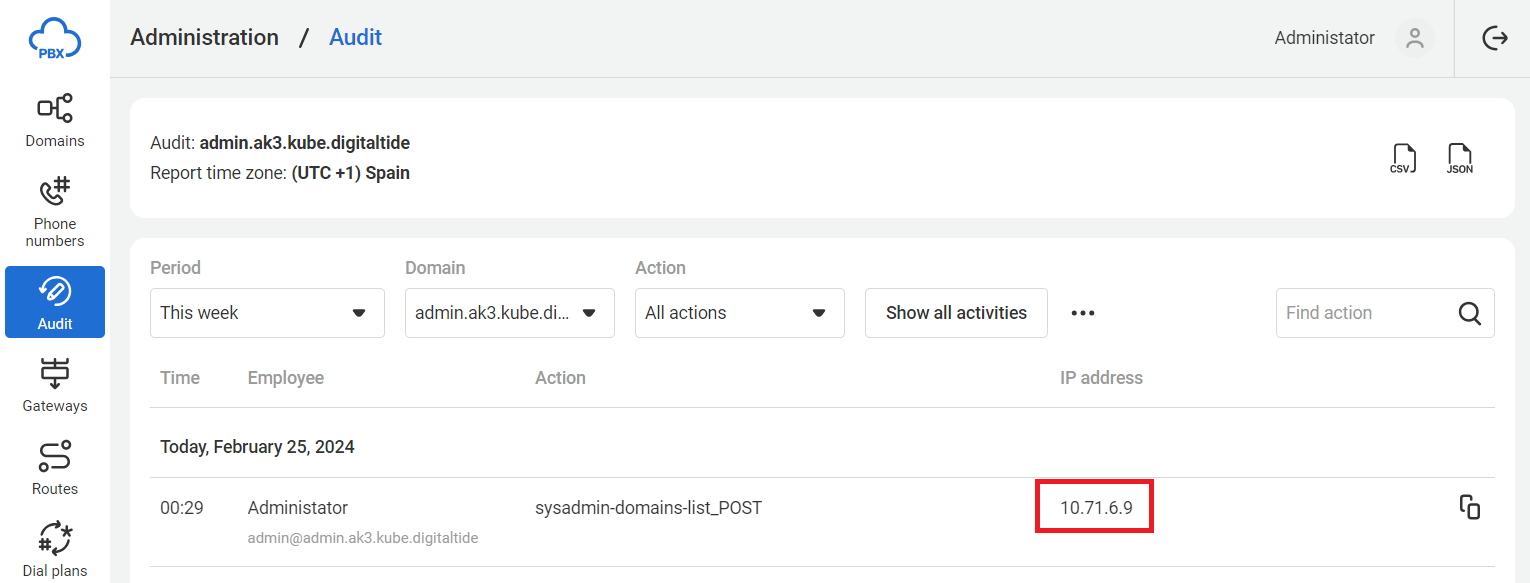
To filter all actions for a specific IP address, click the required value in the IP address column.
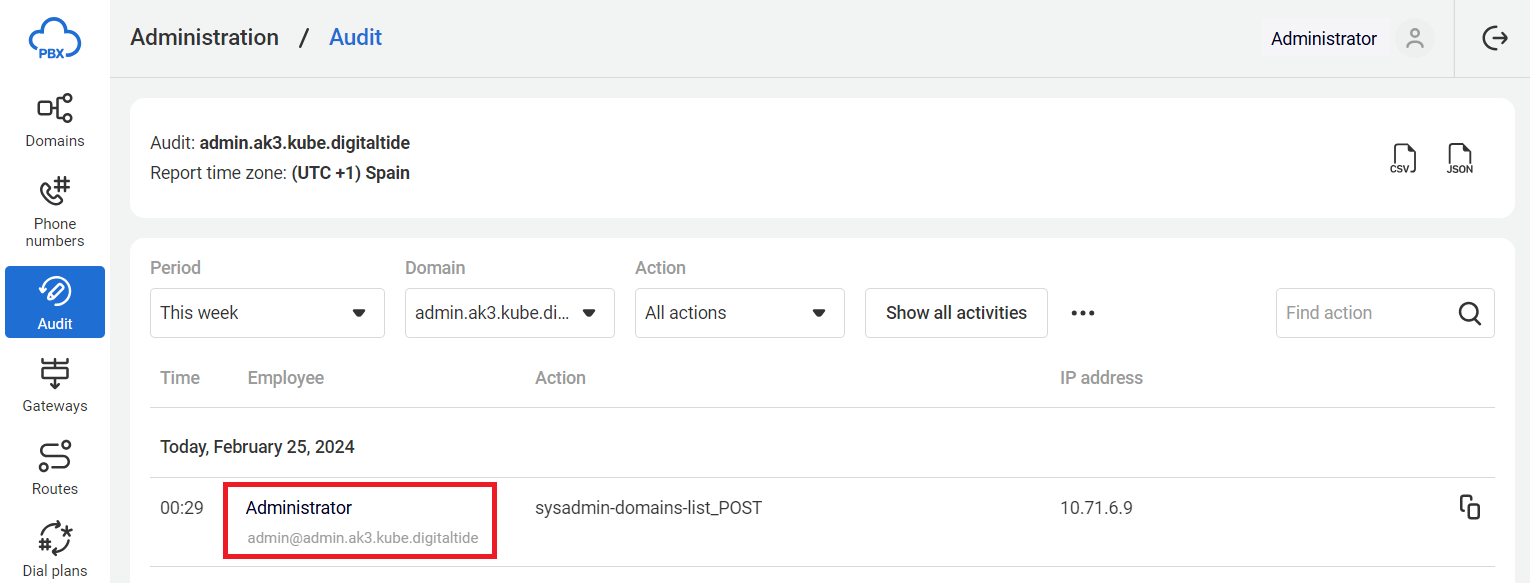
To search for actions by a specific employee, click the required value in the Employee column.
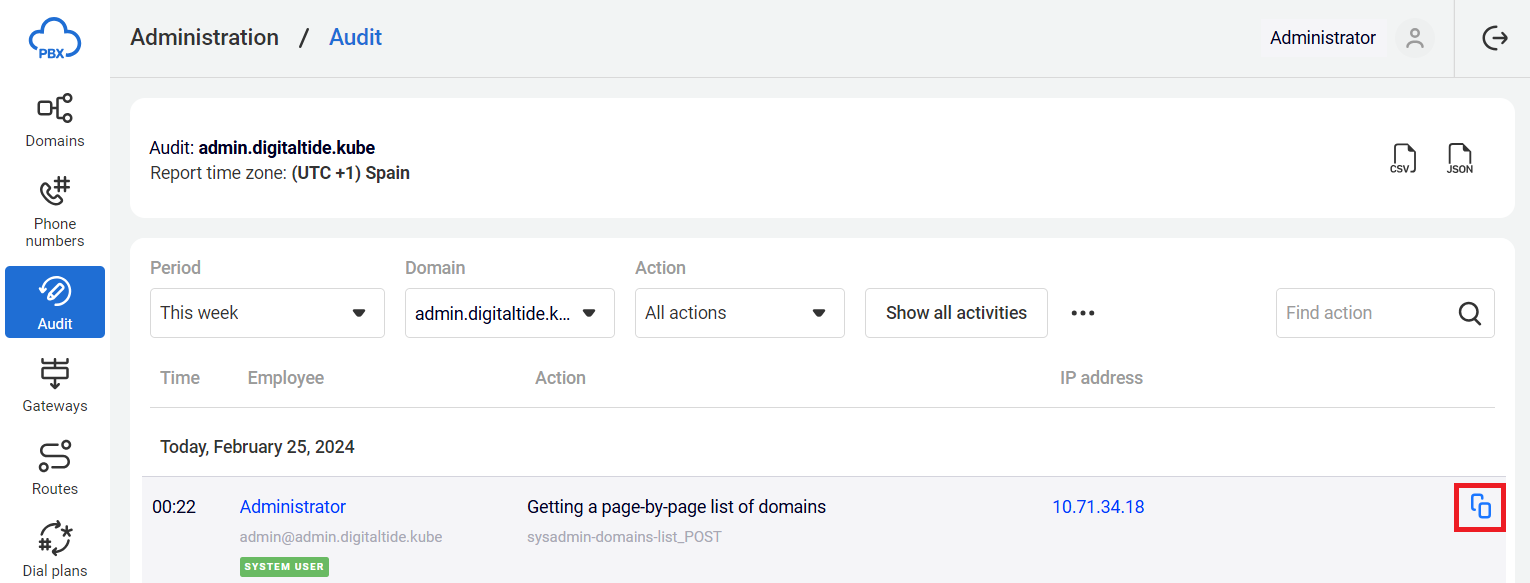
Copying Action Description
To copy rows of the table, click the following icon to the right of the required domain.
You can filter actions by employee name and detailed information for each action through the search bar in the Audit section.
