Gateways
The Gateways section contains a list of the operator's equipment from which external calls are received and to which they are sent in the network and from PSTN or GSM. Each gateway contains connection parameters and rules for transferring numbers in both directions.
How to Create a Gateway
General Settings
1. Go to the Gateways section. Click Add gateway.
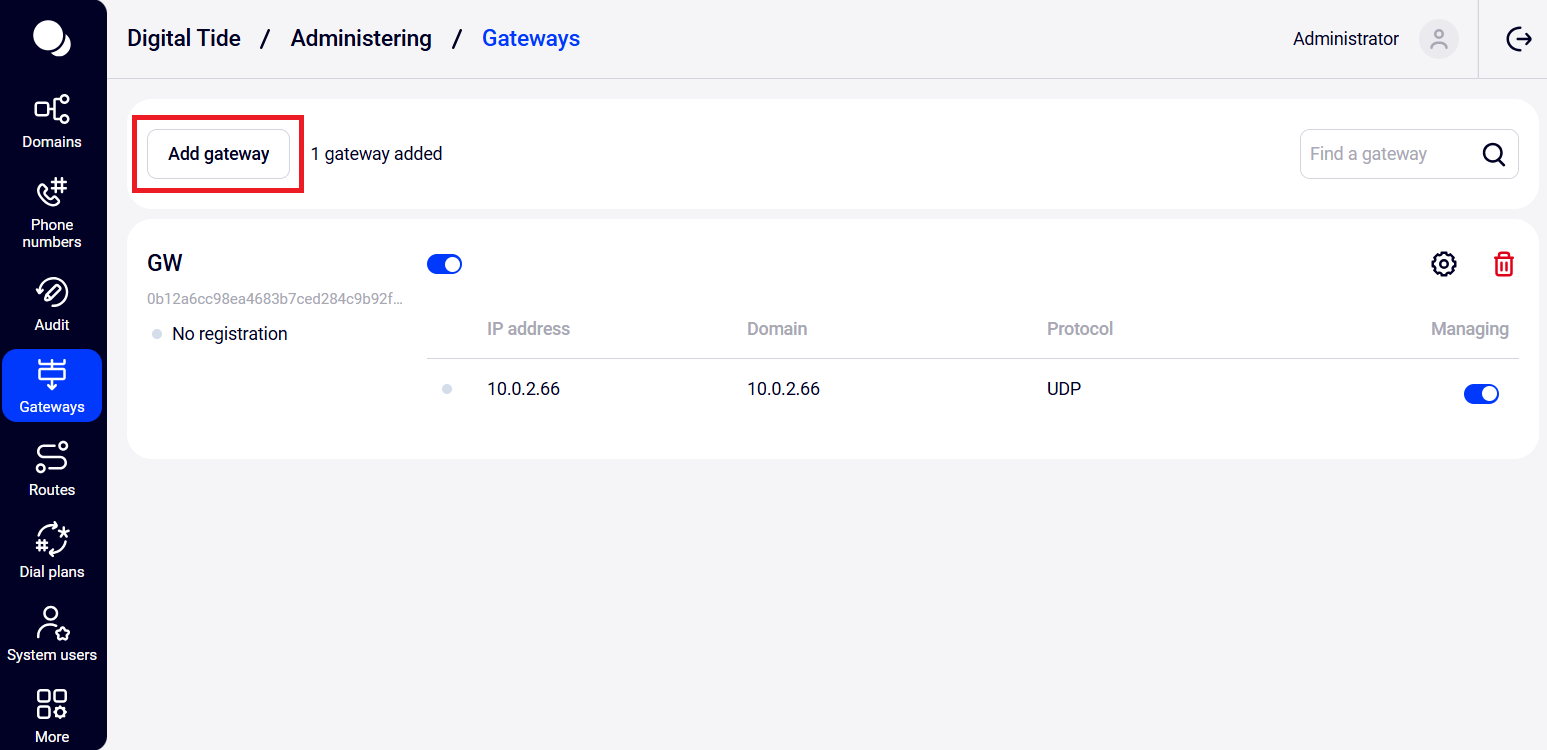
2. A gateway creation form will open. Enter the gateway title and description.
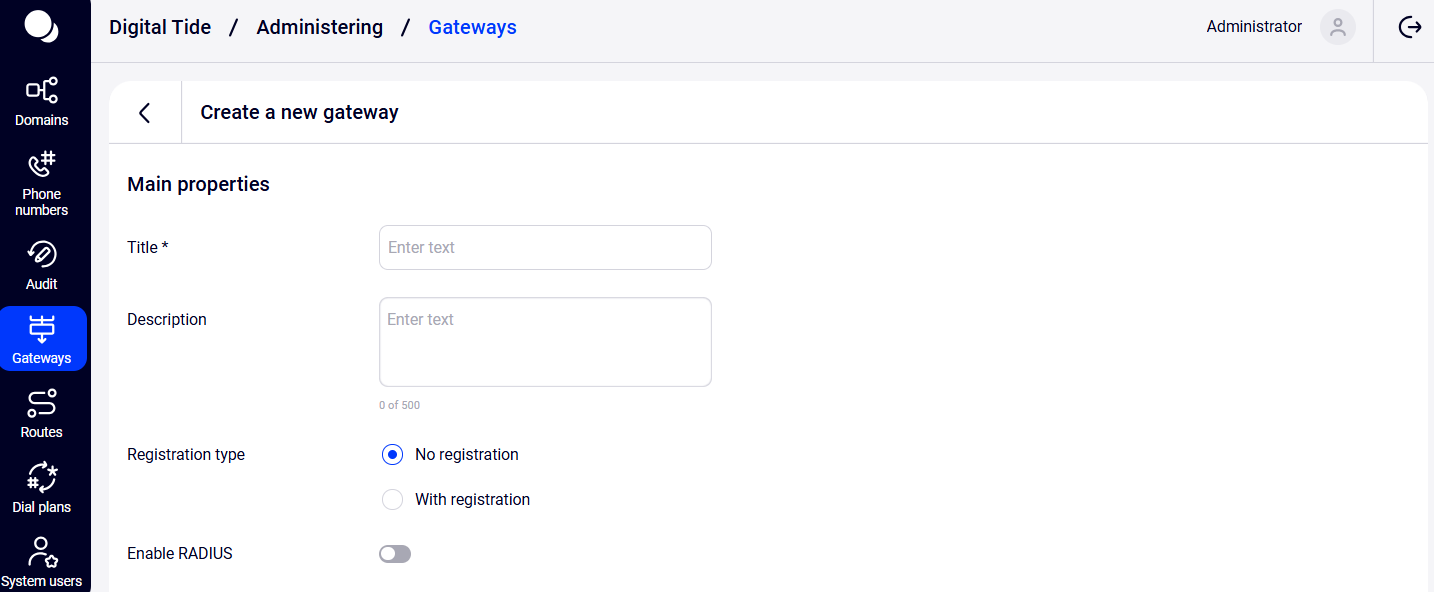
3. If necessary, configure integration with the billing system using the RADIUS protocol by toggling the Enable RADIUS switch.
Note. Before enabling this option, contact Digital Tide technical support for each gateway.
RADIUS Setup
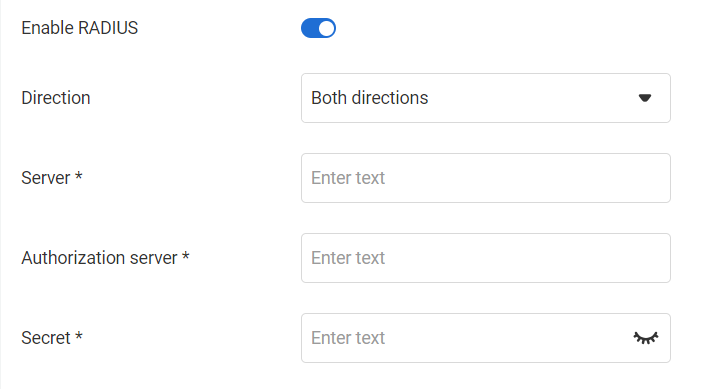
When enabling RADIUS, choose the call direction:
- Both directions — all call directions will be processed;
- Incoming calls — only incoming calls will be processed;
- Outgoing calls — only outgoing calls will be processed.
Fill in the form fields according to your system requirements:
- Server;
- Authorization server;
- Secret.
Gateway type
Specify the gateway type:
- No registration — most commonly used and recommended type, calls are authorized by IP address.
- With registration — registers and links to the operator's equipment and supports active registration at specified time intervals. Calls are only possible with active registration.
Features of a registered gateway:
- it can contain max ten numbers;
- anonymous calls are not possible;
- calls with another caller ID are not possible.
Gateway With No Registration Setup
Equipment Settings
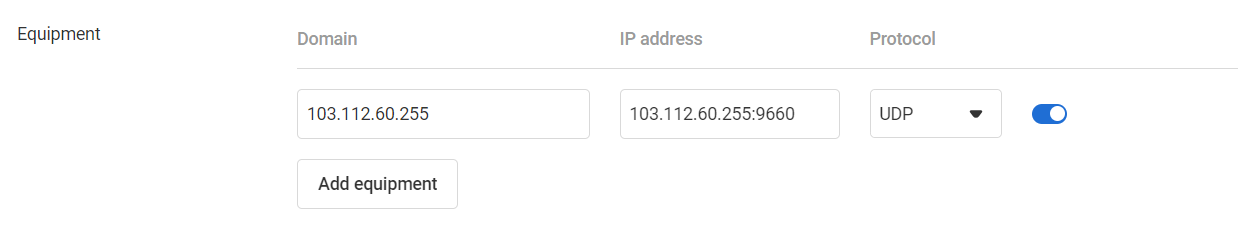
Fill in the Equipment form fields. This form only appears for gateways with no registration.
- Domain — enter the operator's gateway domain name or IP address.
The value in this field will be indicated in the Request URI of the INVITE request from the platform, and the request itself will be sent to the IP address specified in the IP address field (if it is filled in).
- IP address — if the gateway receives incoming calls, enter the IP address of the operator's gateway. If the gateway does not receive incoming calls, you can leave the field blank. In this case, the request will be sent to the IP address obtained by the domain name.
Note. In the IP Address field, you can specify the port in the following format: IP address: port. For example, 103.112.60.255:9660. If a port is additionally specified in this field, the platform will accept calls from the operator's gateway only from the specified pair of IP address: port. If the port is not specified, the platform will accept calls from the operator's gateway from any port but only from the specified IP address.
The logic of forming the INVITE request from the platform to the operator's gateway is as follows:
| Domain | IP Address | INVITE Format | Sending Address for UDP* |
| mydomain.com | 103.112.60.255 | sip:number@mydomain.com | 103.112.60.255:5060 |
| 103.112.60.255 | 103.112.60.255 | sip:number@103.112.60.255 | 103.112.60.255:5060 |
| 103.112.60.255 | 77.125.5.47 | sip:number@103.112.60.255 | 77.125.5.47:5060 |
| mydomain.com | 103.112.60.255:9660 | sip:number@mydomain.com | 103.112.60.255:9660 |
| 103.112.60.255 | 103.112.60.255:9660 | sip:number@103.112.60.255 | 103.112.60.255:9660 |
| 103.112.60.255 | 103.112.60.255:9660 | sip:number@103.112.60.255 | 77.125.5.47:9060 |
If a port is additionally specified in this field, the platform will send requests to the operator's gateway to the pair of IP address: port. If the port is not specified, the platform will send requests to the operator's gateway to the IP address:5060 pair (standard port).
Protocol — choose the transport protocol (UDP, TCP, or TLS). The choice of the transport protocol depends on the protocols used by the operator's company.
Adding Equipment
1. Add equipment if multiple backup IP addresses are needed, by clicking the Add equipment button. Use arrows to set the equipment order in the list.
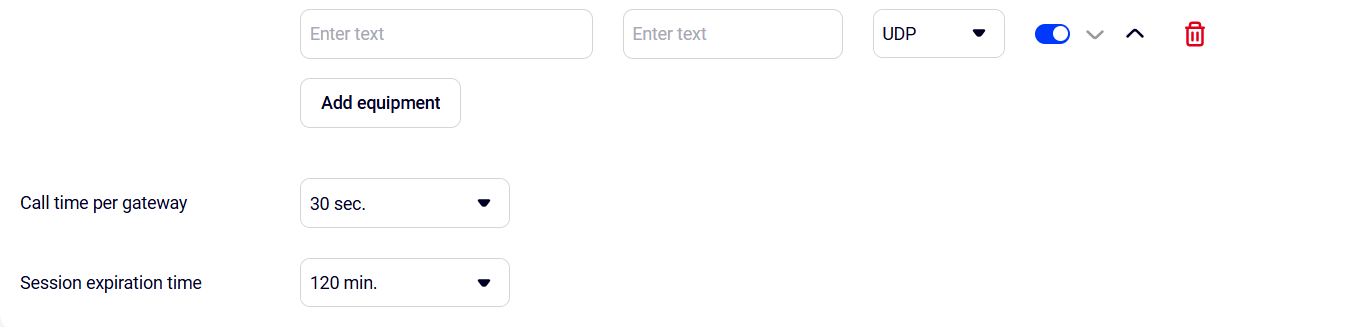
2. Configure the Call time per gateway and Session expiration time options by selecting values from the dropdown list.
- Call time per gateway (transaction timeout timer) is the maximum time the sender will wait for confirmation of the INVITE request.
- Session expiration time (Session-Expires) — is the period in seconds after which the session will be forcibly terminated if it is not refreshed. To make the session permanent, select Disable.
Incoming Calls Setup
In telephony settings it is necessary to set up both incoming and outgoing calls.
In the Incoming calls setup section, enable the Receive incoming calls option. This will reveal settings for the called number and the received Caller ID.
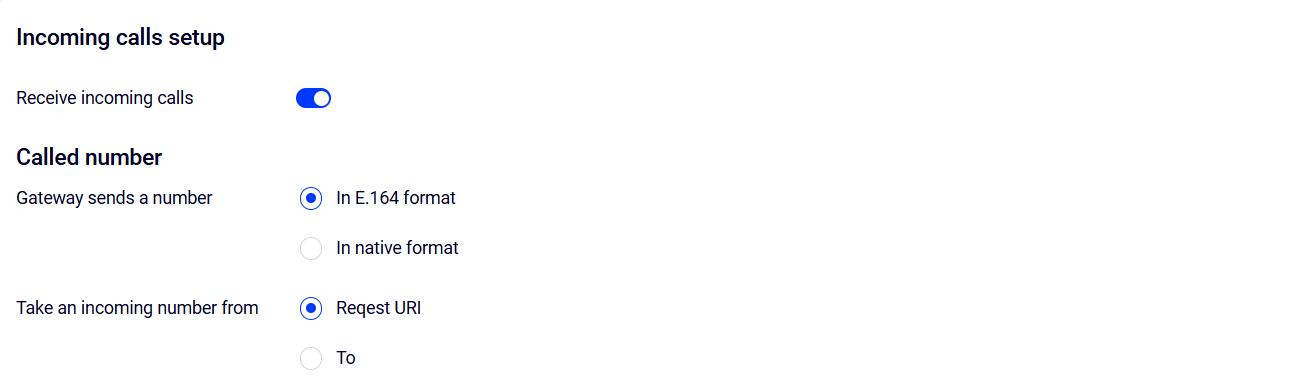
1. Called Number
For the called number, choose:
- the format in which the gateway sends the number — E.164 or a custom format;
- source of the incoming number — the Request URI field or theTo field.
The platform works with numbers in the E.164 format. Often, numbers arrive in a different format. Conversion rules must be set to convert the number to the E.164 format.
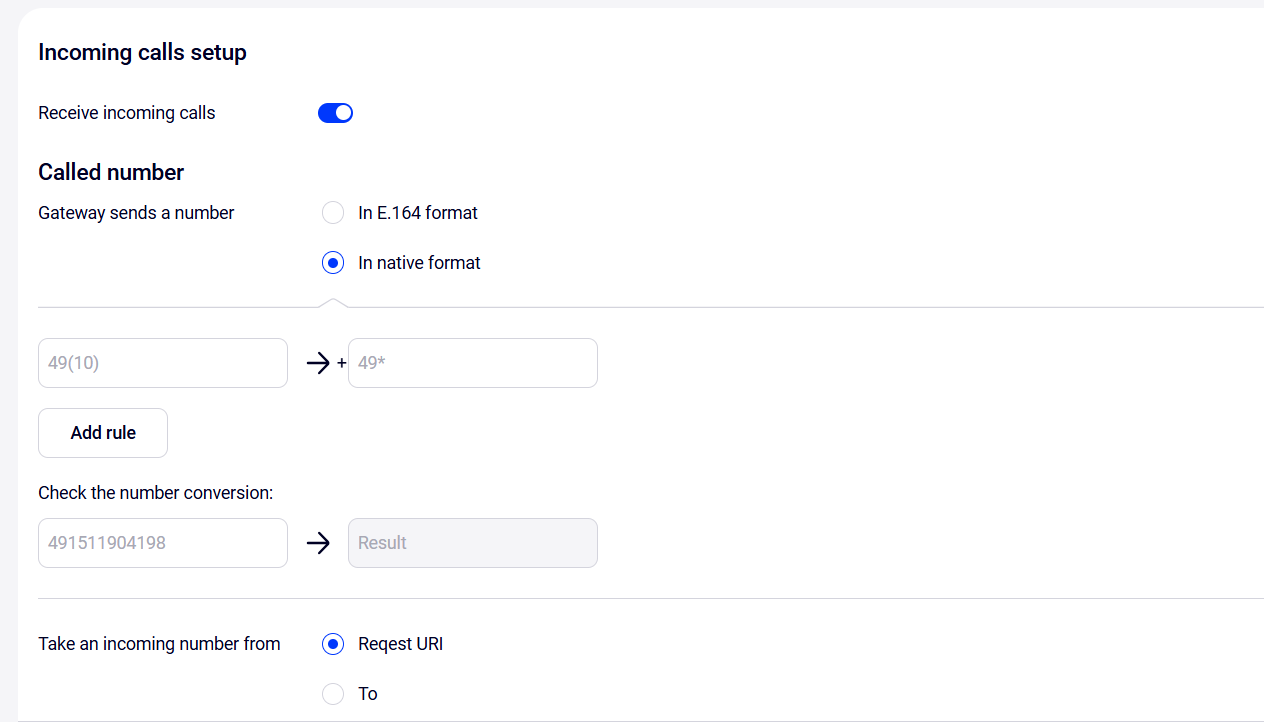
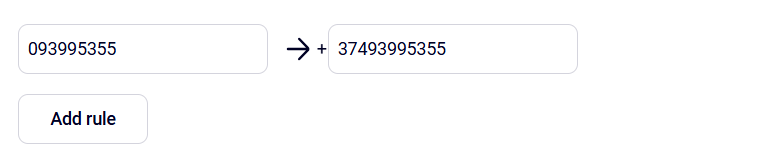
To set a conversion rule, enter the number to be converted into the left field, and the conversion results into the right field.
Usage example
If the incoming call number format is 093XXXXXXXXXX, and the platform expects numbers in the +374XXXXXXXXXX format, a conversion rule needs to be defined.
In the left field, rules can be set for a specific number or a universal rule can be set using the following values:
- (n) — a specific number of digits;
- (n1-n2) — a range of digits from n1 to n2;
- * — any sequence (will be passed “as is” from the original number).
Usage example
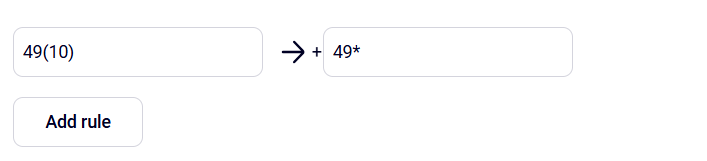
According to this rule, all numbers starting with 49 followed by 10 digits will be converted to numbers starting with +49 and followed by those 10 digits of the original number.
To delete a rule, click the trash can icon on the right. Arrows can be used to specify the priority of conversion rules. Conversion rules are applied in the order they are listed in the table, so it's essential to place more specific rules at the top and more general rules at the bottom.
Enter the incoming number in the validation field to verify that the rules work correctly.

2. Accepted Caller IDs
If you need to process the сaller ID sent by the operator's gateway, enable the Accepted caller IDs option.
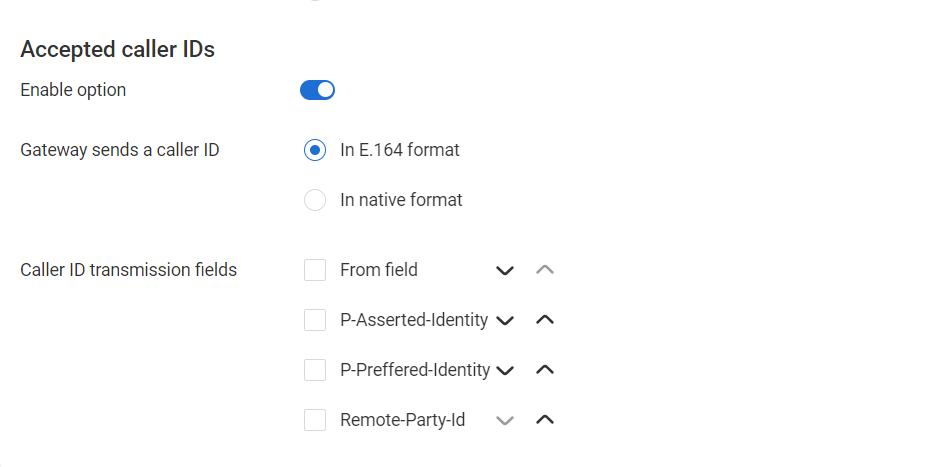
1. Choose the format in which the gateway will send the сaller ID:
- In the E.164 format;
- In a native format.
If a native number format is chosen, define the number transformation rules.
2. Depending on the technical architecture, select the fields:
- From field;
- P-Asserted-Identity;
- P-Preferred-Identity;
- Remote-Party-Id.
Arrows can be used to specify the priority of field viewing. The search begins with the first field in order. If found, its value is taken. If the field or value is not found, the second field is searched, and so on.
Outgoing Calls Setup
Enable the use of FMC numbers as outgoing numbers. If this step is skipped, the FMC numbers connected to this gateway will not be usable as primary, personal, or regional outgoing numbers.They will not be displayed in the Settings — More — Outgoing numbers section in the customer's account.
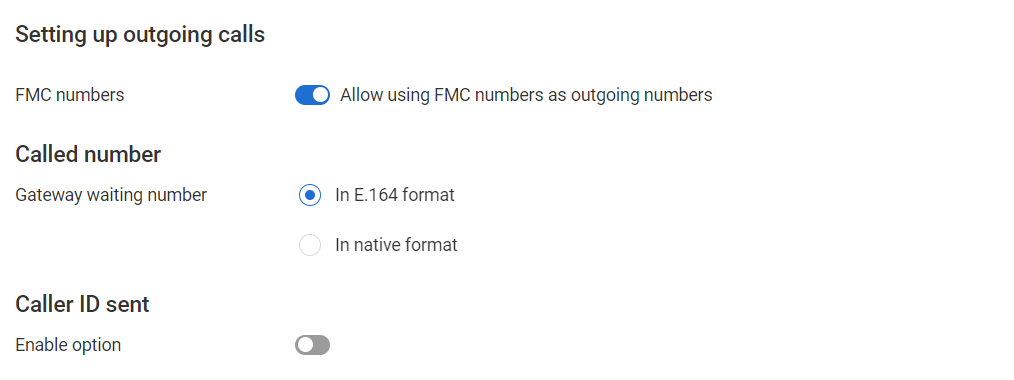
Next, specify the settings for the called number and the sent сaller ID. For the called number, the settings in this section are similar to those for incoming calls.
Caller ID Sent
1. If the operator's gateway expects a caller ID, enable the option in the Caller ID sent section.

2. Choose the format in which the operator's gateway will send the number: in E.164 format or in a native format.
3. Specify the prefixes of the caller IDs (Cloud PBX outgoing numbers) that the gateway can accept. If the accepted caller ID matches the specified list, the call will be directed toward a telecom provider's gateway. If prefixes are not specified, the gateway will accept caller IDs with any prefixes.
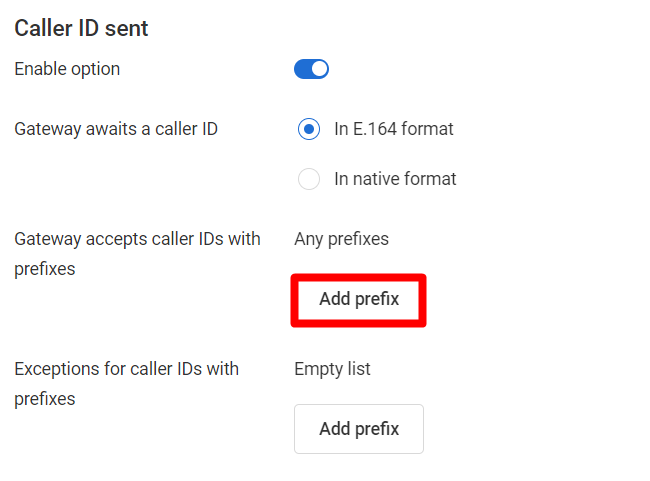
To specify prefixes, click Add prefix and enter the value.
To add an additional prefix, click this button again. To delete a prefix, click the trash can icon.
4. Exceptions for caller IDs with prefixes — specify the prefixes from which caller IDs will not be accepted. If prefixes are not specified, the gateway will accept caller IDs with any prefixes.
5. Choose the methods for sending the caller ID:
- From field;
- P-Asserted-Identity;
- P-Preferred-Identity;
- Remote-Party-ID.
The selected fields will be added to the outgoing request to the telecom provider's gateway.
6. Click Save to create the gateway. After saving, the general list of gateways will be displayed.
Check the saved settings and change the gateway settings if necessary by clicking the gear icon next to the gateway name. After making changes, click the Save button.
Gateway With Registration Setup
To create a gateway with registration, you need to add the registration server and set up outgoing calls.
Incoming Calls Setup
1. In the Setting up incoming calls section, click the Add registration button.

Fill in the form fields:
- Number — the phone number in the +E.164 format provided by the operator for its customers.
Note: The entered number will automatically be added to the Phone numbers section.
- Domain — the domain name or IP address of the server where the registration takes place.
- IP address — the IP address of the operator's gateway. This field can be left empty. In this case, the registration request will be sent to the IP address obtained from the domain name.
- Username
- Authorization name — the user's name during authorization. If not specified, the username is used to log in.
- Password —the user's password.
- Lifetime — registration expiration time.

2. If you need to register another equipment in the gateway settings, click the Add registration button. To delete the registration, click the trash can icon.
3. Choose the Send to Contact option if necessary:
- Number;
- Username;
- Authorization name.
The Send to Contact option controls the value of the Contact field in the REGISTER request from the platform.
Fill in the settings for the accepted caller ID similarly to the instructions for the gateway with no registration.
Outgoing Calls Setup
1. In the Outgoing calls setup” section, you can:
- use account details for incoming calls — toggle the switch.
- add another registration — click the Add registration button and fill in all the fields similarly to the registration in the incoming calls settings.
2. Fill in the settings for the called number and the sent caller ID similarly to the instructions for the gateway with no registration.
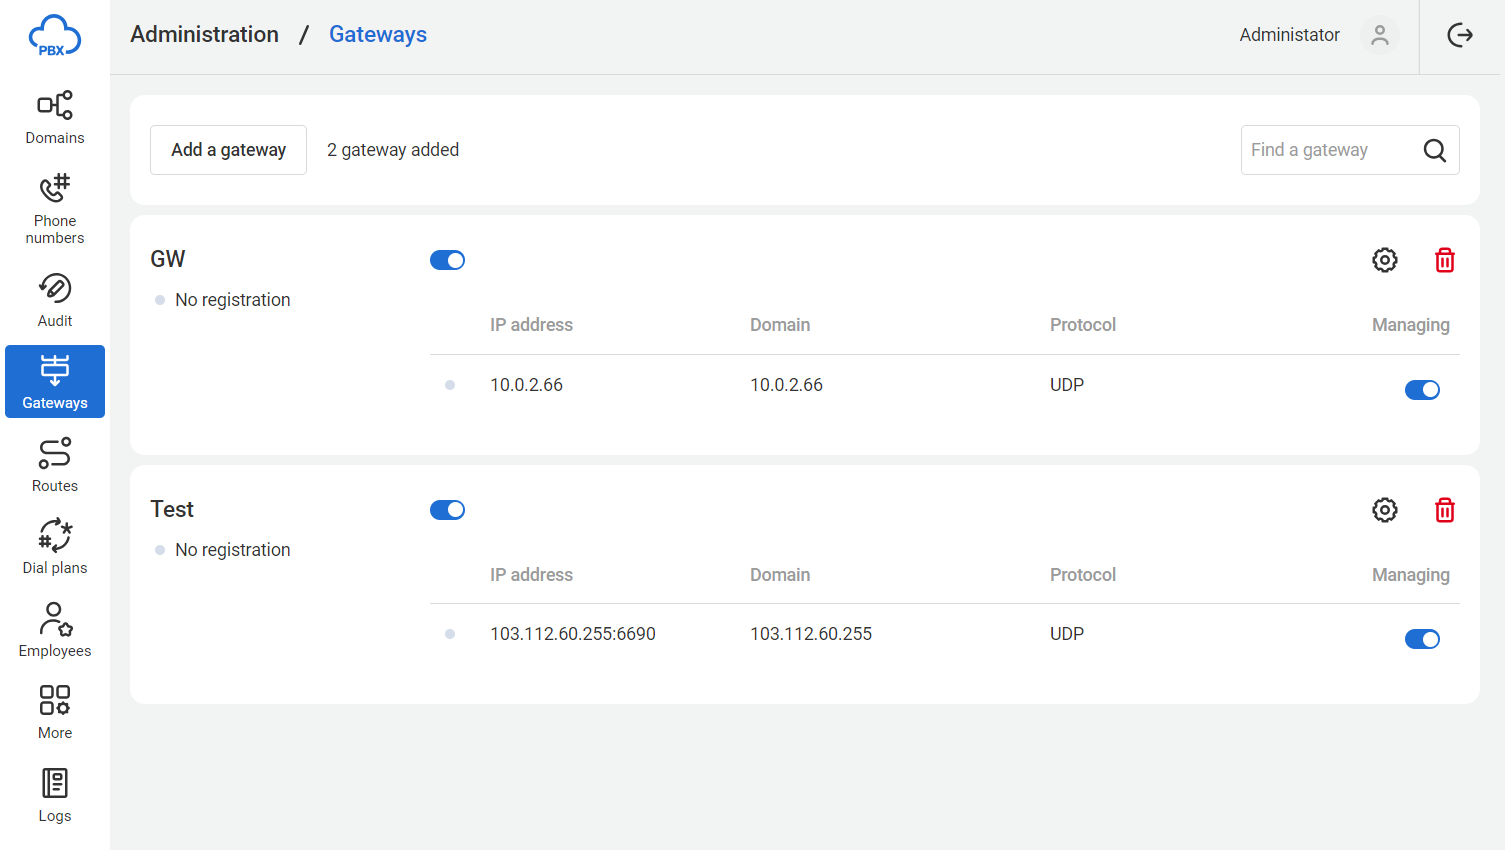
Other Actions With Gateways
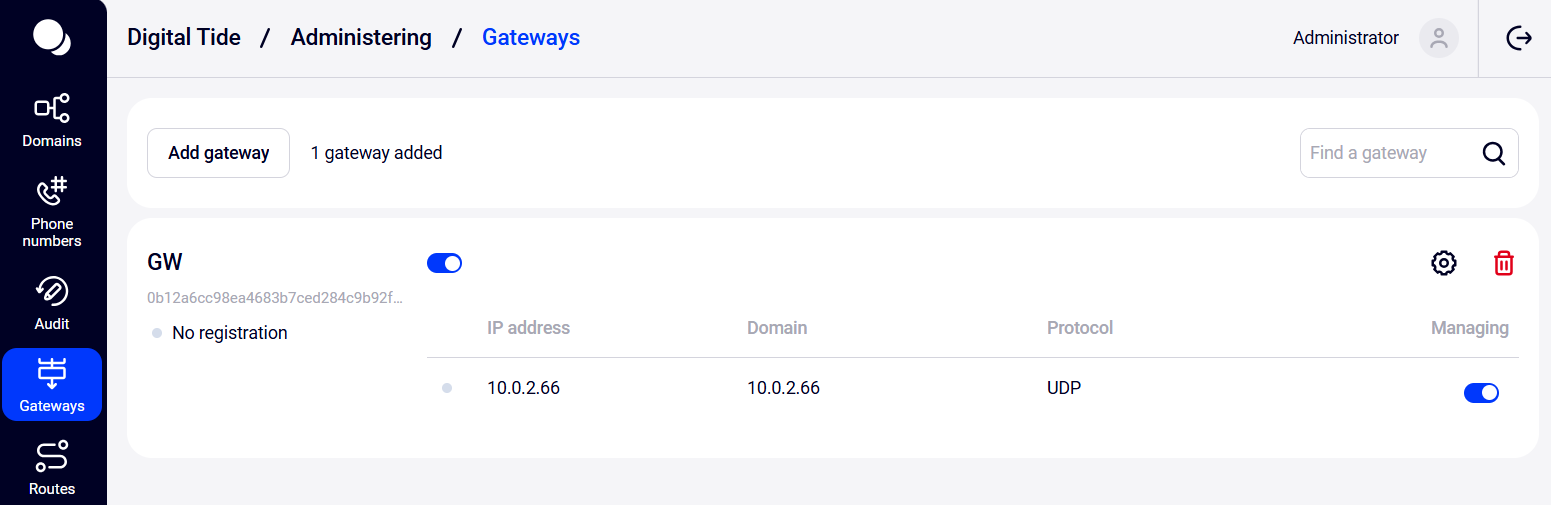
For each gateway in the table, you can find:
- title;
- equipment the gateway works with;
- gateway activity status. For gateways with no registration, the status is not tracked (always gray), for gateways with registration, the following statuses are possible:
- green: registered;
- gray: not registered.
You can search, block, and delete gateways directly from the gateway table and grant other employees access to manage gateways.
To find a gateway, enter the title or part of the gateway title in the search bar. Press Enter. Only gateways with the searched fragment in their titles will be displayed in the list.
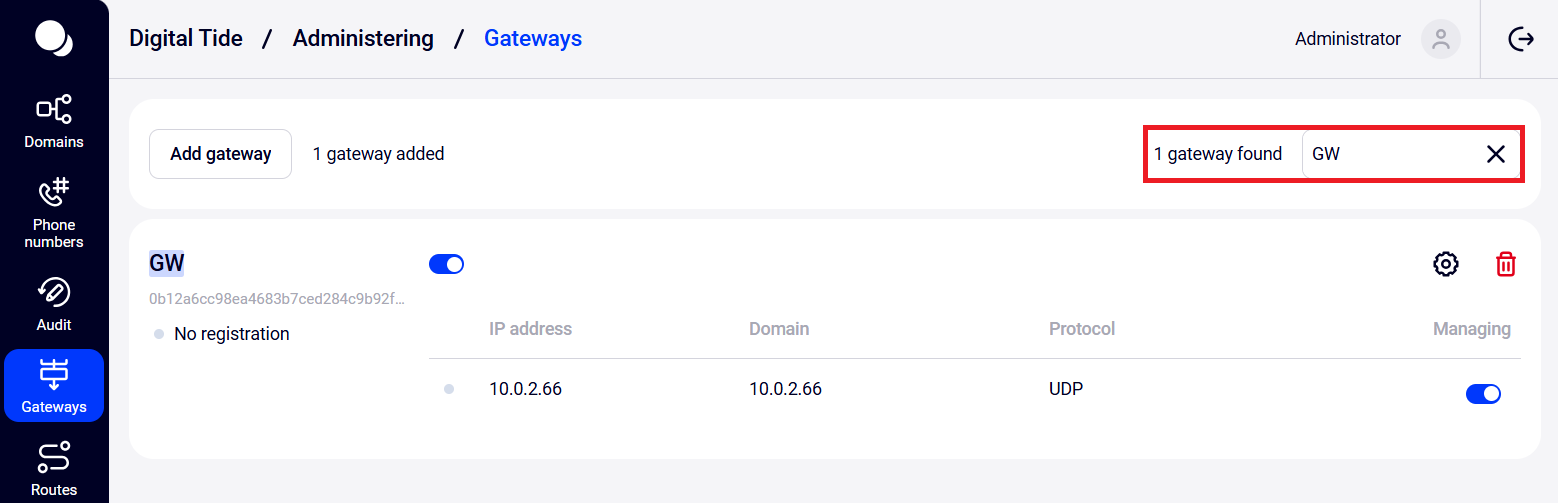
To return to the full list of gateways, click the 'x' in the search bar.
Blocking a Gateway
To block a gateway, toggle the switch next to the gateway title.
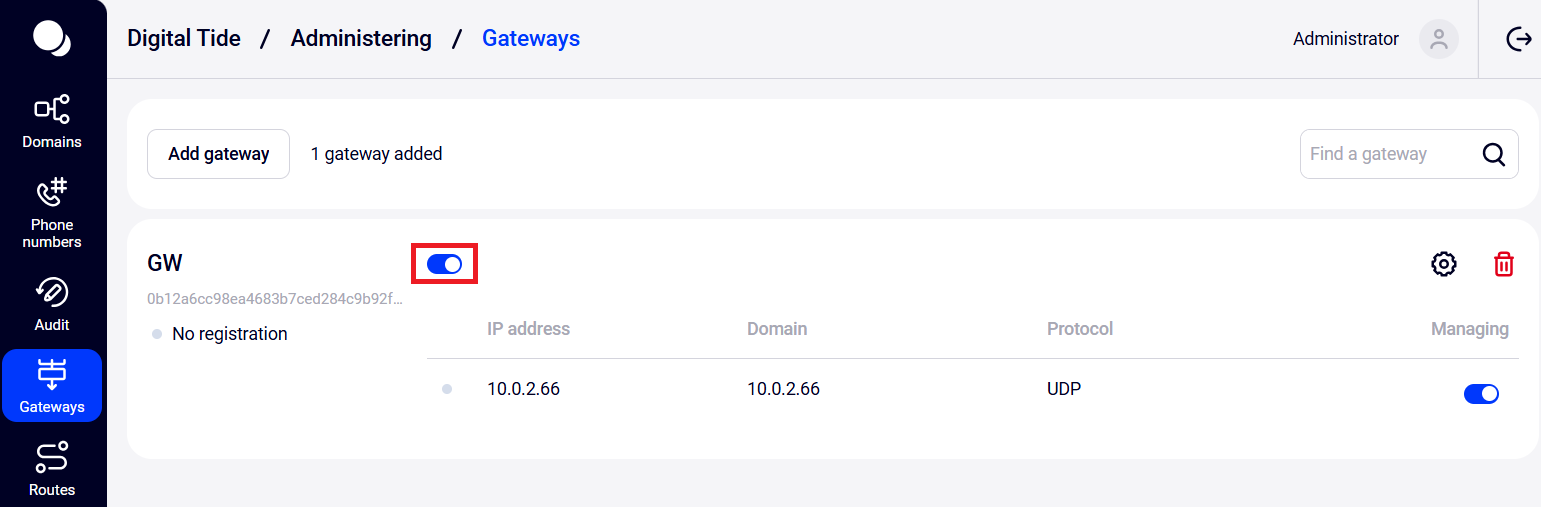
To unblock a gateway, toggle the switch one more time.
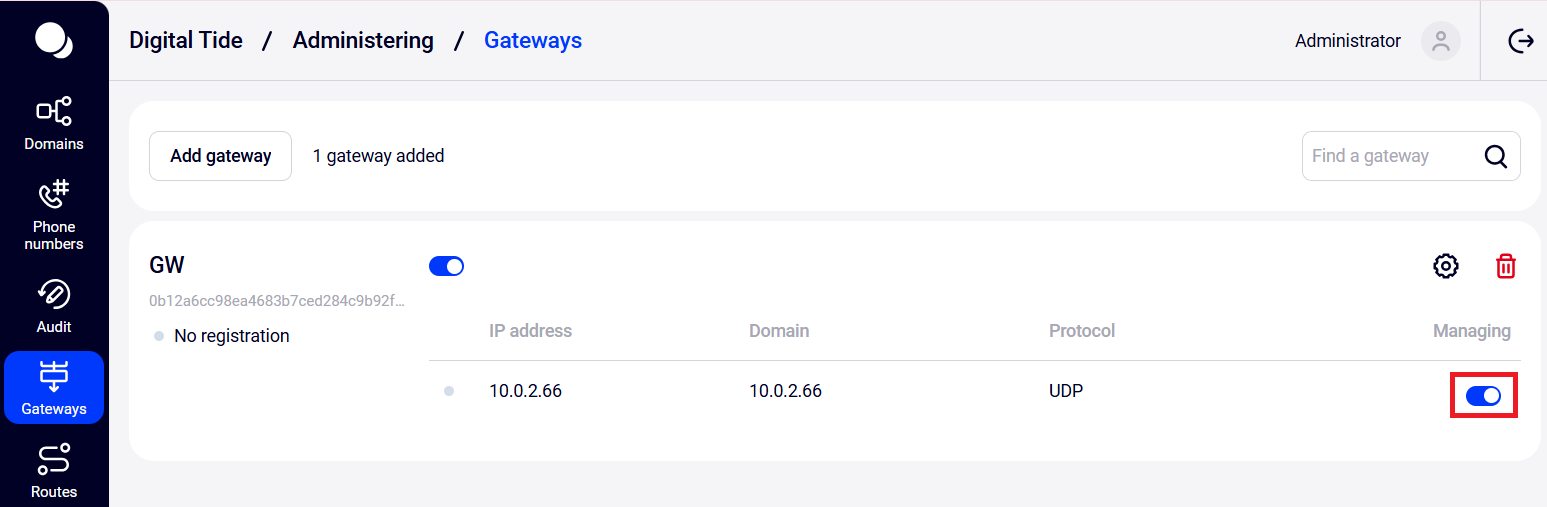
Granting Employee Access to Gateway Management
System administrators can grant access to other employees by toggling the switch in the Managing column.
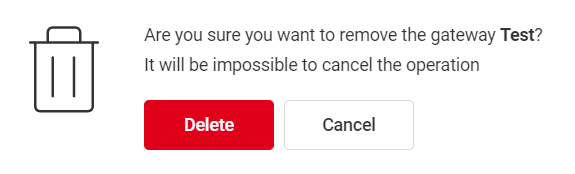
Deleting a Gateway
1. Click the trash can icon on the right side of the screen in the card of the required gateway.
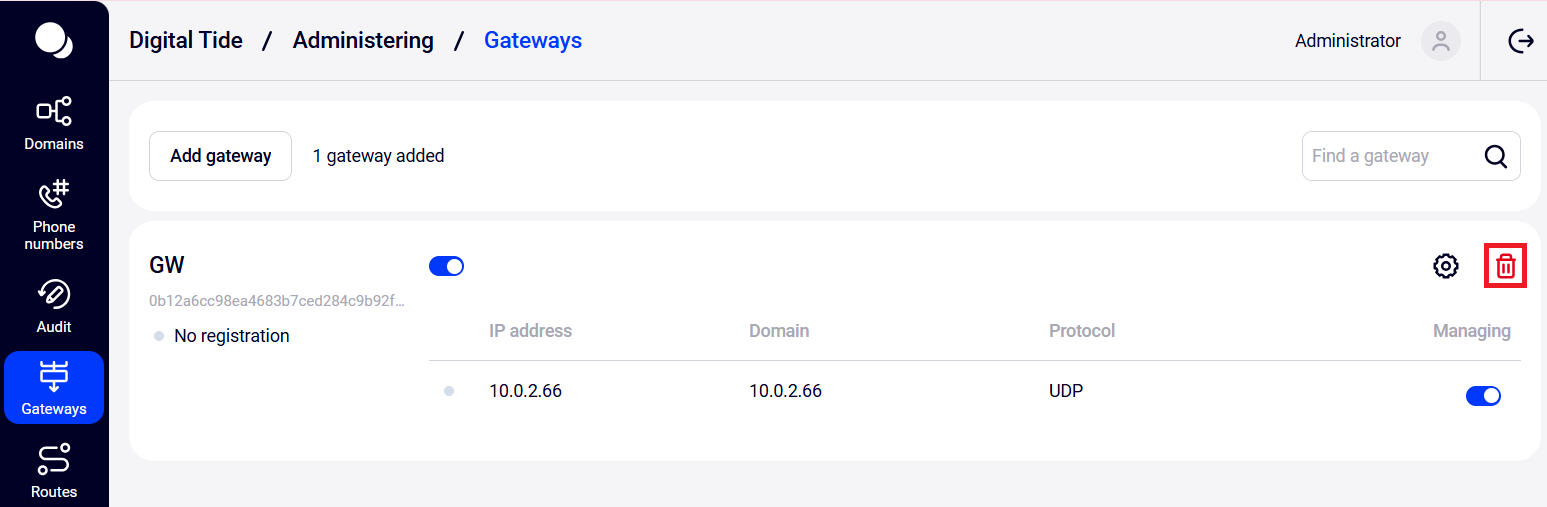
2. In the pop-up window, click the Delete button.