Localization and Region
How to Configure Interface Languages
You can select the languages that will be available for selection in both the operator and client interfaces of Cloud PBX.
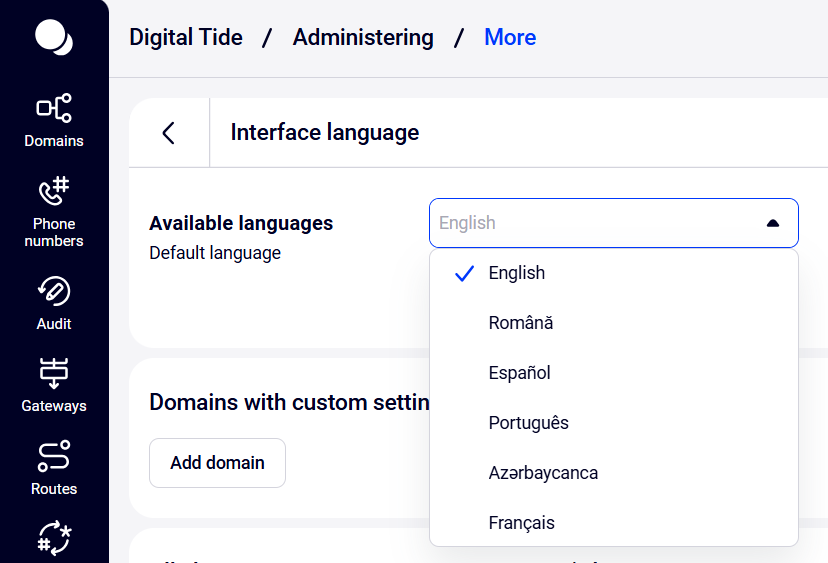
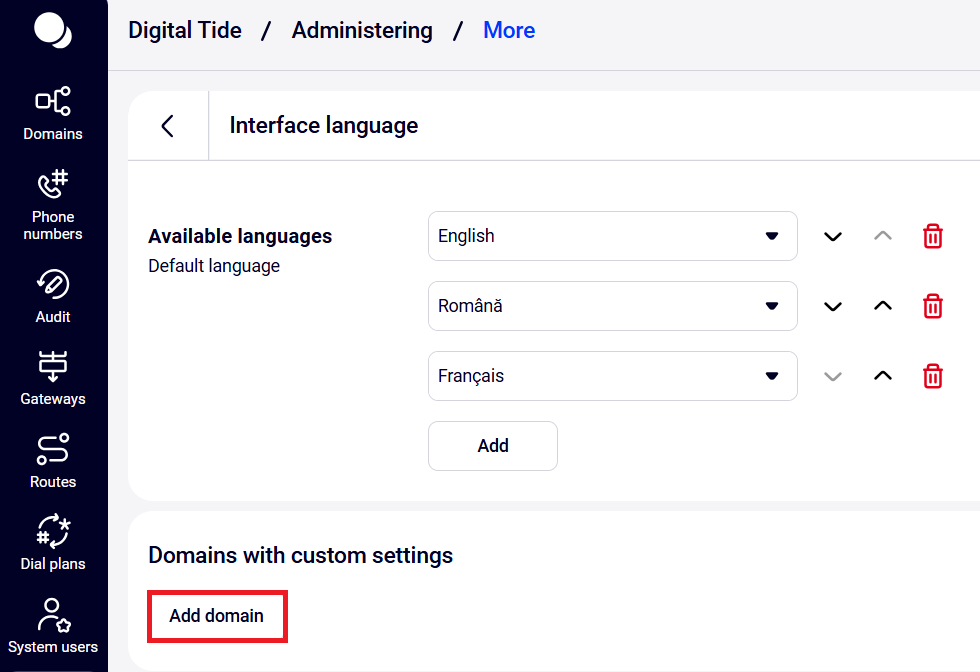
1. Go to the More section under Localization and Region and click on Interface Languages.
2. Specify which languages will be available for selection on the domains. All available languages will appear in the dropdown list in the order you defined in the operator interface.
To change the order of the languages, use the arrows to the right of the list. Note: the first language in the list is the default. It will be used automatically for any new domain. To delete a language, click the trash icon next to it. You can restore it to the list later, if needed.
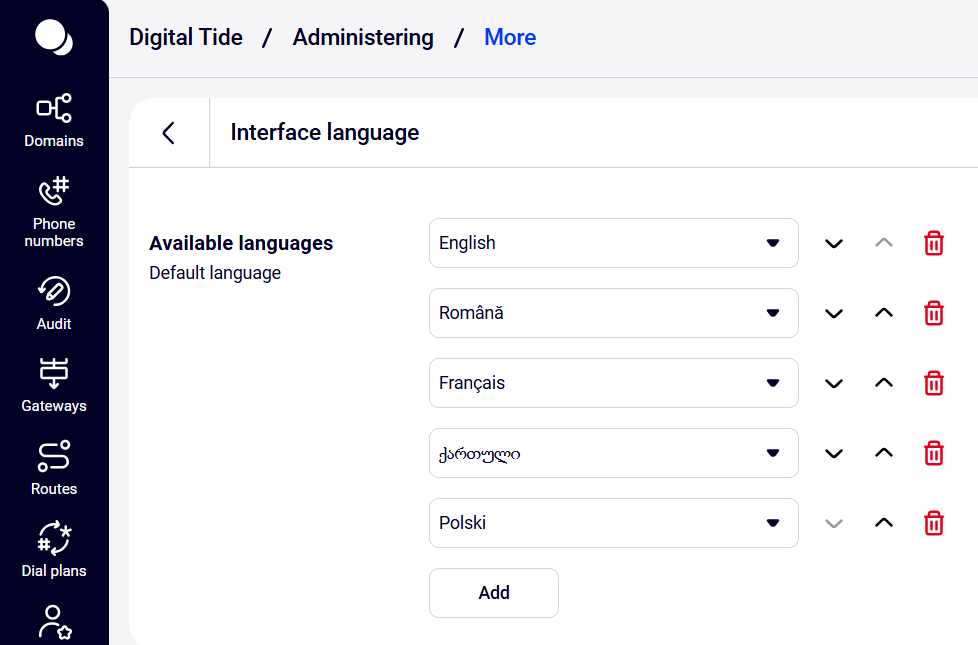
3. Click Save at the bottom of the page to finalize the configuration.
How to Configure Separate Language Lists for Operator and Client Interfaces
Sometimes it may be more convenient for operators and clients to use different interface languages. If you want to assign a distinct list of languages specifically for all client domains:
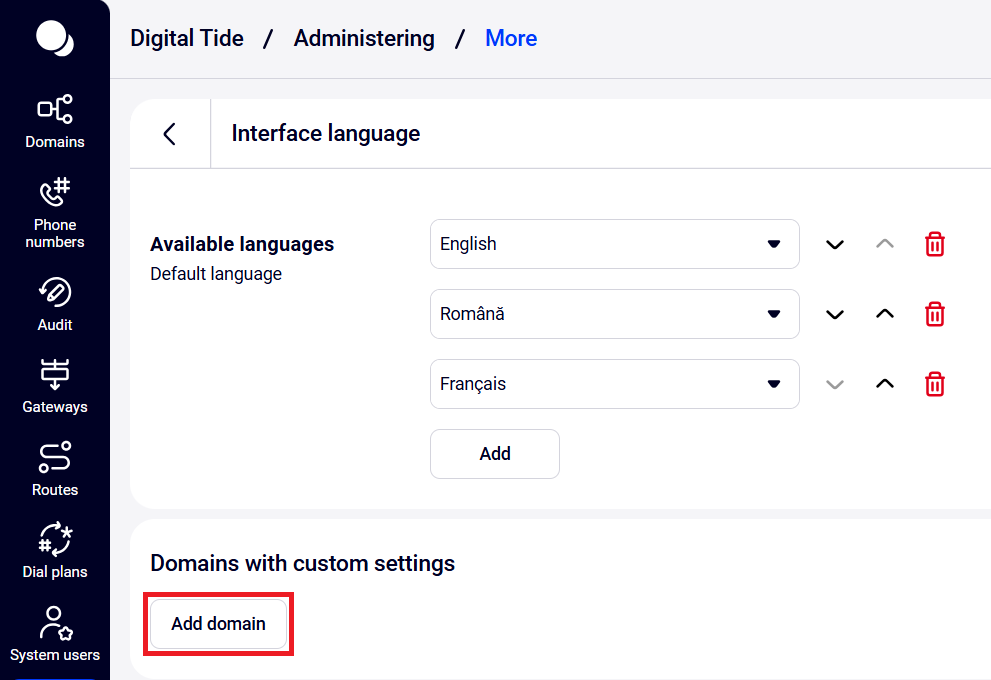
1. In the Domains with Unique Settings section, click Add domain.
2. From the dropdown menu, select All client domains. Click Save.
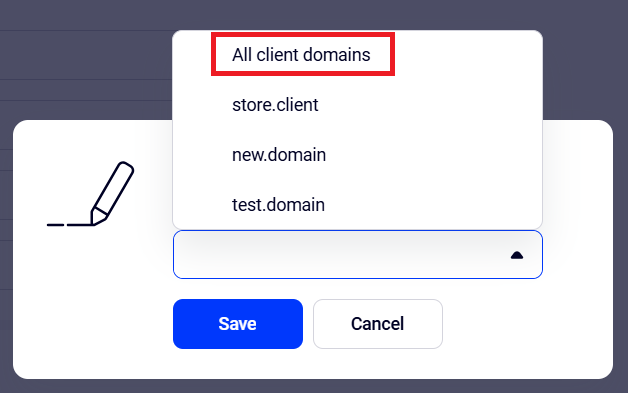
3. A new setting labeled All client domains will appear, where you can choose a language list exclusively for client domains.
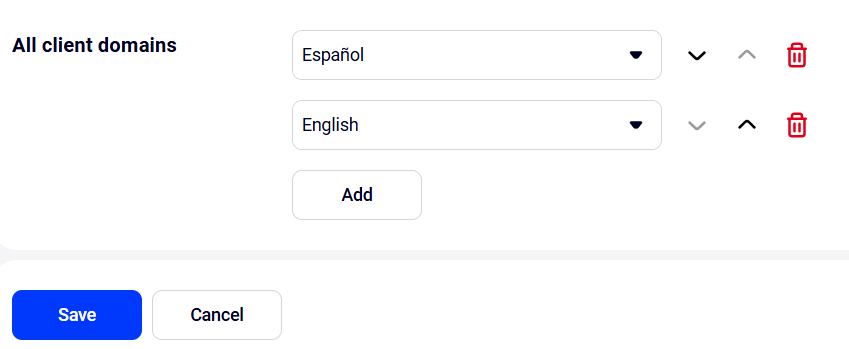
Click Save at the bottom of the page to finalize the configuration.
How to Configure Languages for an Individual Domain
You can customize the list of available languages for each domain individually. To do this:
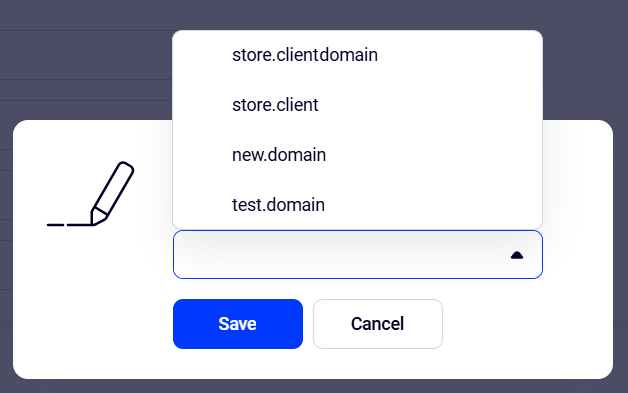
1. In the Domains with custom settings section, click Add domain.
2. From the dropdown menu, choose the desired domain and click Save.
3. A separate configuration section named after your chosen domain will appear at the bottom of the page, allowing you to select the list of available languages for it:
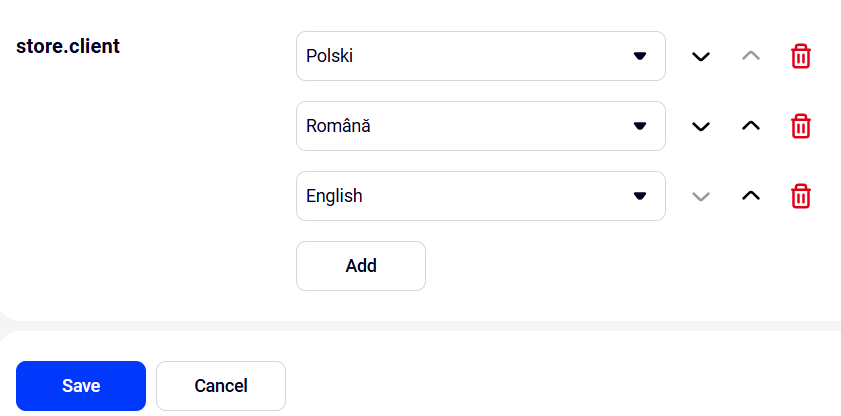
Please note: a domain's custom language configuration takes precedence over the All client domains setting.
How to Configure Regional Texts
You can customize the display of example texts and hints in client Cloud PBX domains. Each region comes with its own default examples for phone numbers, their formats, user login text, display names, etc., which you can override.
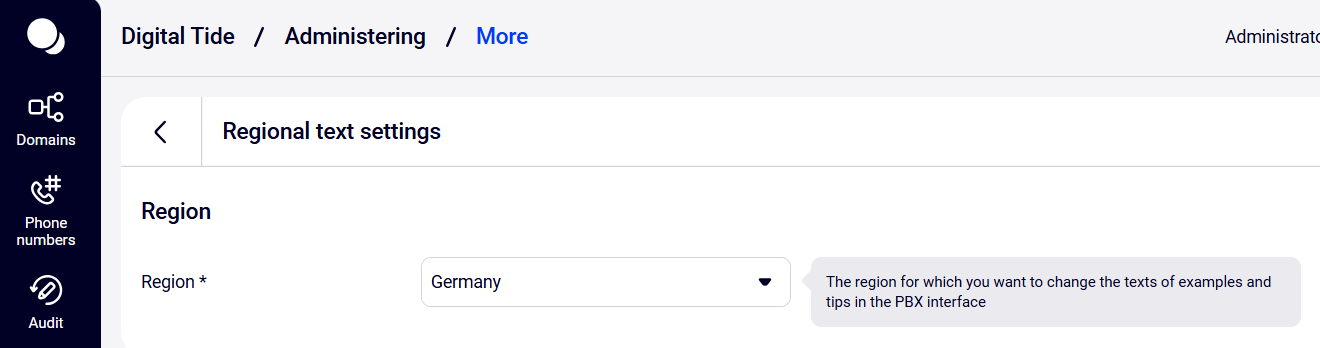
1. In the More section under Localization and Region, click on Regional Text Settings.
2. Select the region for which you want to customize example texts and interface hints.
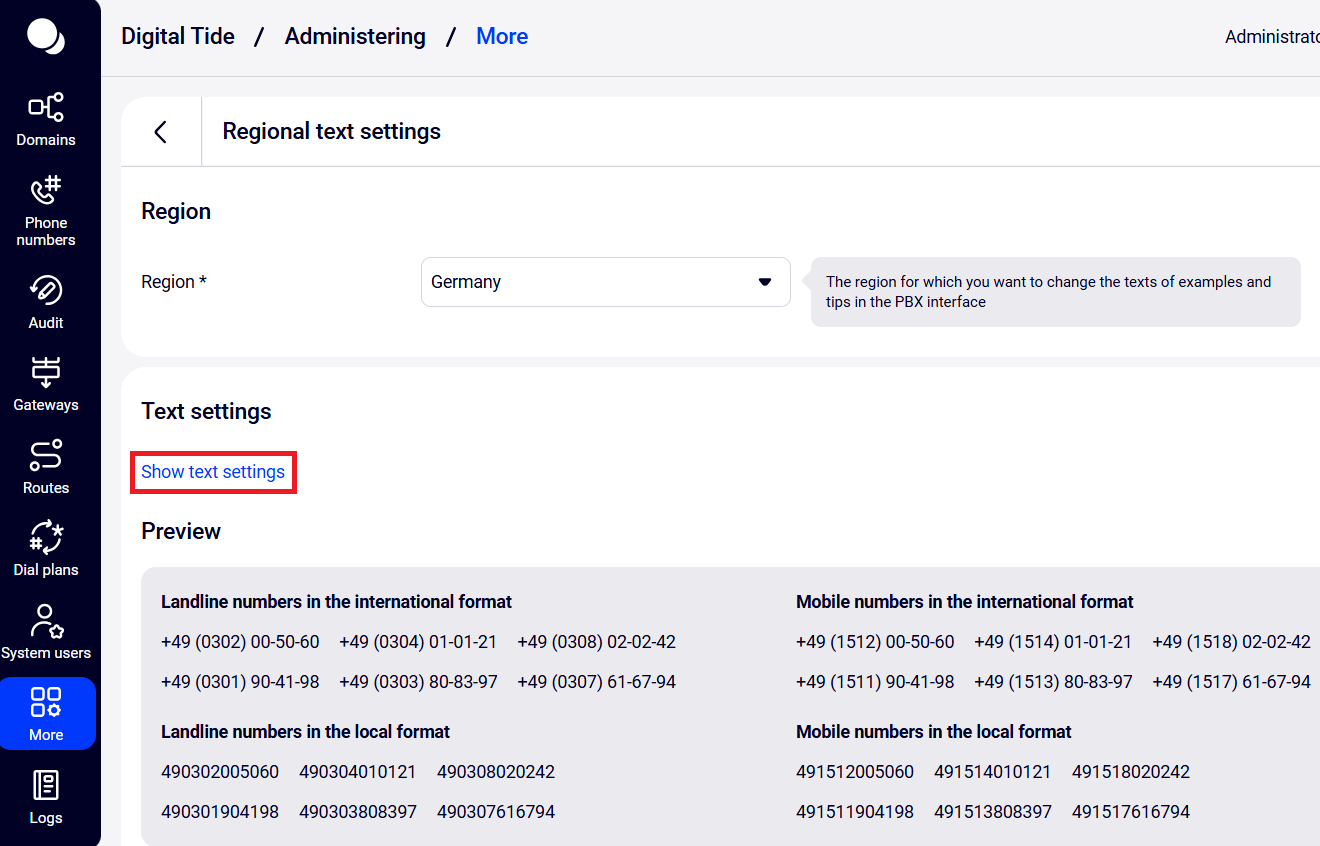
3. Click Show text settings.
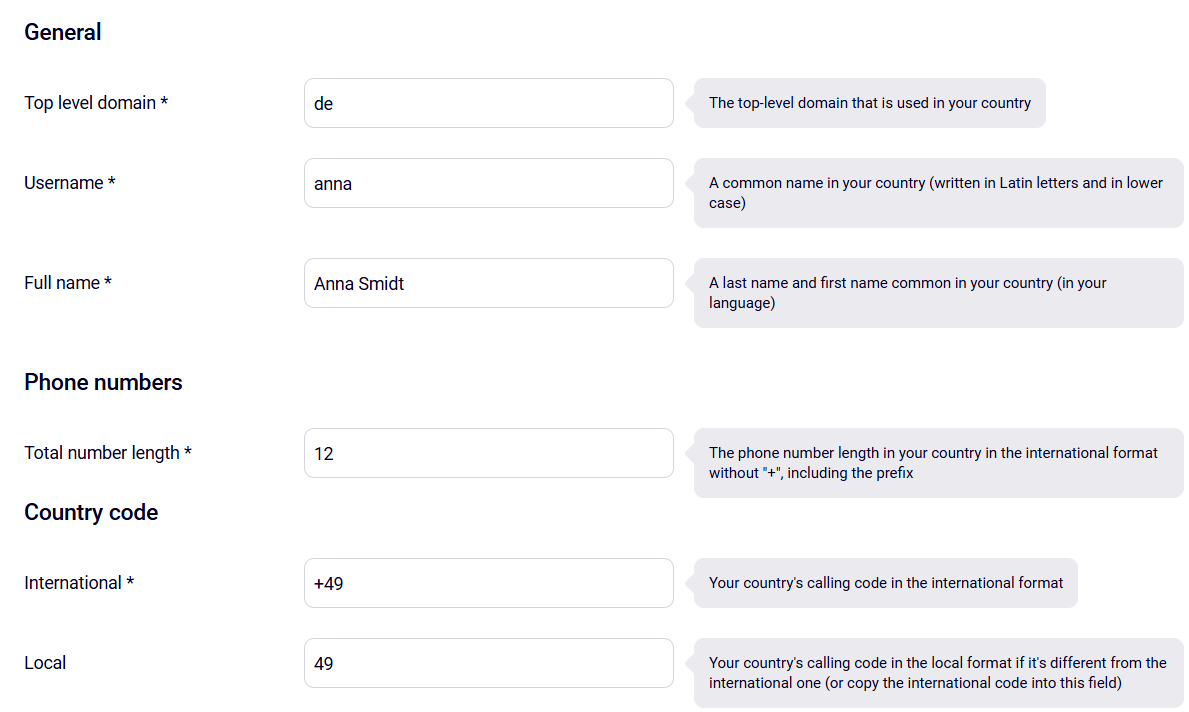
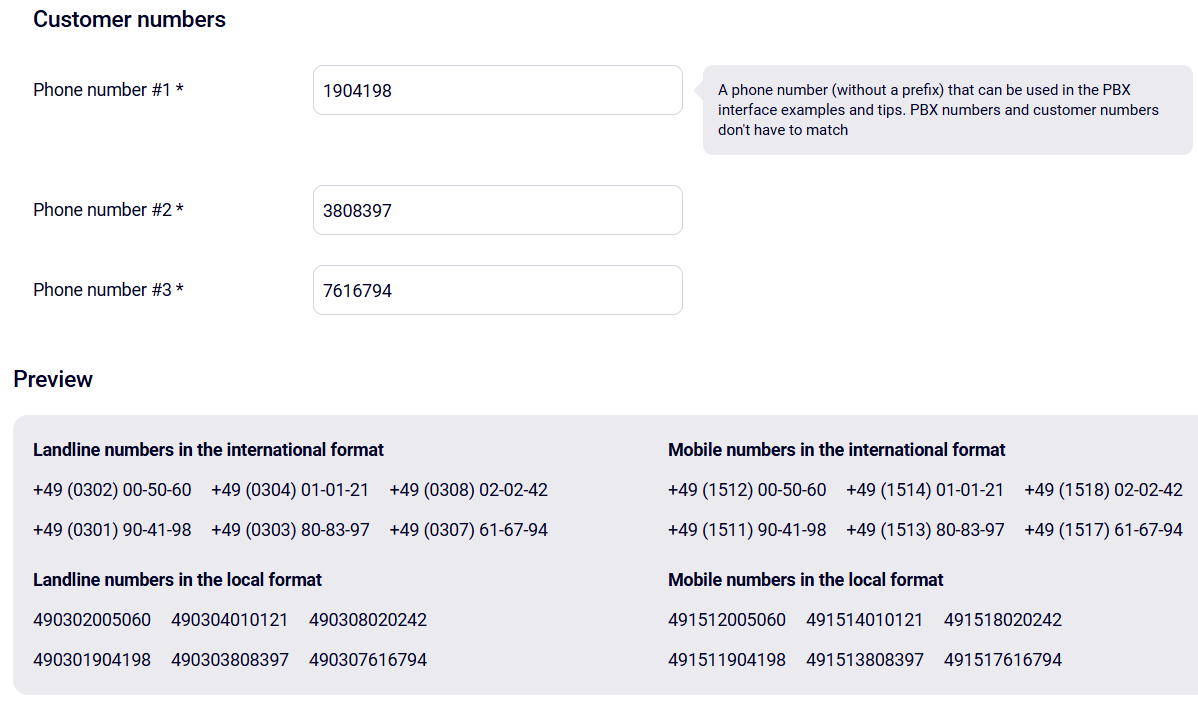
4. Enter values corresponding to your region.
5. Use the preview to see how the phone numbers will appear in the Cloud PBX interface.
6. If everything looks correct, click Save at the bottom of the page.
Please note: each domain can have its own regional text settings, and these settings take precedence over the global defaults.
How to Configure Time Zones
You can configure the time zones available for selection on client domains, as well as set the default time zone. This setting ensures the accuracy of call history and the operational mode of numbers.
1. In the More section under Localization and Region, click Time Zone.
2. Select the desired default time zone.
3. Check the boxes next to the time zones that should be available for selection on client domains.
Please note: you can also set a specific time zone for each domain directly within the client interface by navigating to Settings → More → Company Time Zone.