Creating a Survey in Automated Voice Messaging (AVM)
AVM allows not only to automate making calls, but also to receive feedback from customers without involving employees. Using this setting you can directly ask customers a question during automated voice messaging which they can answer by pressing a button on the phone. The survey results will be collected in an informative report in the form of a table which can be downloaded and analyzed.
Using AVM surveys you can organize marketing research or solve practical problems. For example, customers can:
- leave a request for a service or a callback,
- confirm that they would like to take part in an event,
- rate the quality of service.
When preparing an audio file with a survey, carefully consider the survey logic. The survey should contain instructions for action that are clear for a customer — which button on the phone dial pad they need to press to give you a particular answer. For example:

To conduct a survey using AVM, you need to complete 2 steps:
1. Create a survey for the AVM.
2. Add the survey to an AVM task.
It is convenient that one survey can be used in several AVM tasks: you do not have to create separate surveys for each group of customers.
Let's look at how to do it below.
How to Create a Survey for AVM
To create a new survey:
1. Open the Automated Voice Messaging (AVM) tab — Response collection.
2. Click Add response collection.

Please note
To edit an existing survey click the settings icon to the right of it.3. On the page that opens enter the survey title and upload an audio file with the question that will be played by the AVM, or use the Text-To-Speech function.
Example of a survey message: Thank you for calling. Please press 1 to confirm your appointment. Press 2 to have a representative contact you to reschedule. Press 3 to unsubscribe from voice messages.

4. For each voice menu button mentioned in the audio message, specify what will happen when pressed.
Please note
If the customer presses a button for which no action has been added, the AVM will repeat the question. After the second press of a button for which no action is provided, the call will be ended, and information about this pressing will not be included in the report.By default, the following standard actions occurring after selecting a voice menu item are added to Cloud PBX:
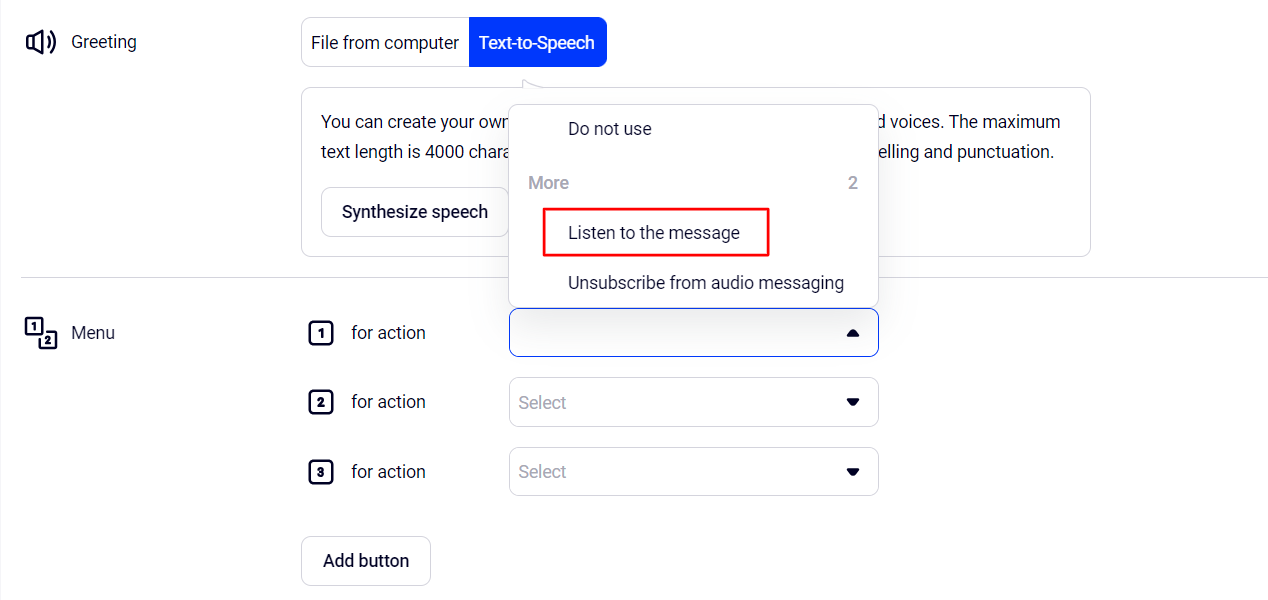
- Listen to the message — after pressing this button, the customer will hear a voice message, the audio file for which you can upload or create using the Text-to-Speech feature in Cloud PBX.
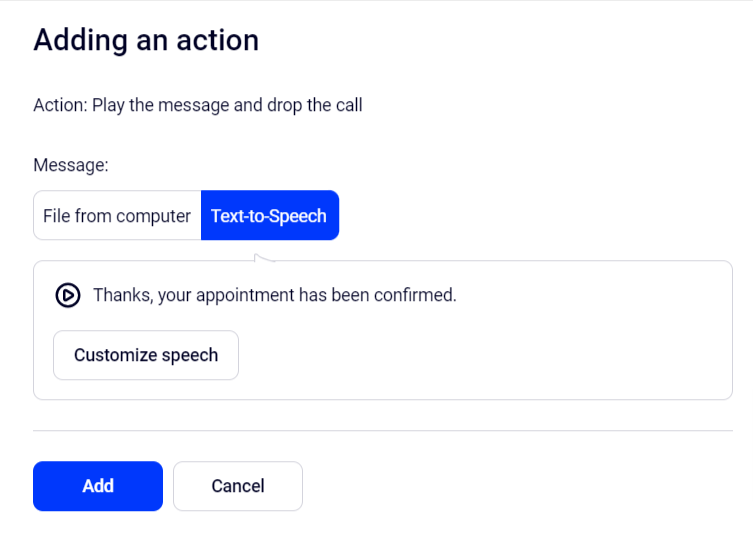
In our example, pressing button 1 confirms the appointment. So, for button 1 we can add the following audio message: “Thanks, your appointment has been confirmed.”
And by pressing button 2, the customer asks the employee to contact him to reschedule the appointment. The following audio message can be added to this button: “Thanks, our representative will contact you to reschedule the appointment.”
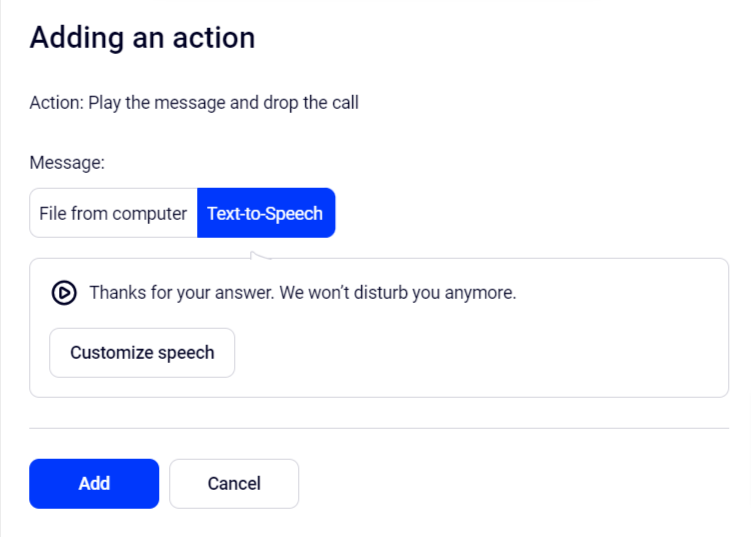
- Unsubscribe from audio messaging — after pressing the button, the customer will be added to the list of the unsubscribed and will stop receiving calls from AVM tasks. Upload or create an audio message using the Text-to-Speech feature of Cloud PBX which the customer will hear by pressing this button.
Example of a message: “Thanks for your answer. We won’t disturb you anymore.”
For the Unsubscribe from audio messaging action, you can select the No message setting, then the call for the customer will end immediately after pressing the corresponding button.
- Do not use — no action will be assigned to this button, nothing will happen when it is pressed and the response will not be recorded.
Why is this needed: for example, one of the buttons that customers are used to pressing in the IVR is button 0. To add button 0 to the menu and assign an action to it, you need to sequentially add buttons from 1 to 9. If survey actions are not provided for all the added buttons, you should select the Do not use option for them.
You can always change the audio message assigned to a button or delete the action by clicking the settings icon.

5. Make sure the survey is set up correctly and click Save.
Now you will be able to find and select this survey in the list when creating or editing an AVM task.

How to Add a Survey to the AVM Task
Once you have created a survey, add it to the AVM task. The customer will hear it immediately after listening to the announcement from the task.
1. Go to Automated Voice Messaging (AVM) — Tasks.
2. Create a new task by clicking the Add a task button, or click an existing task to edit it.
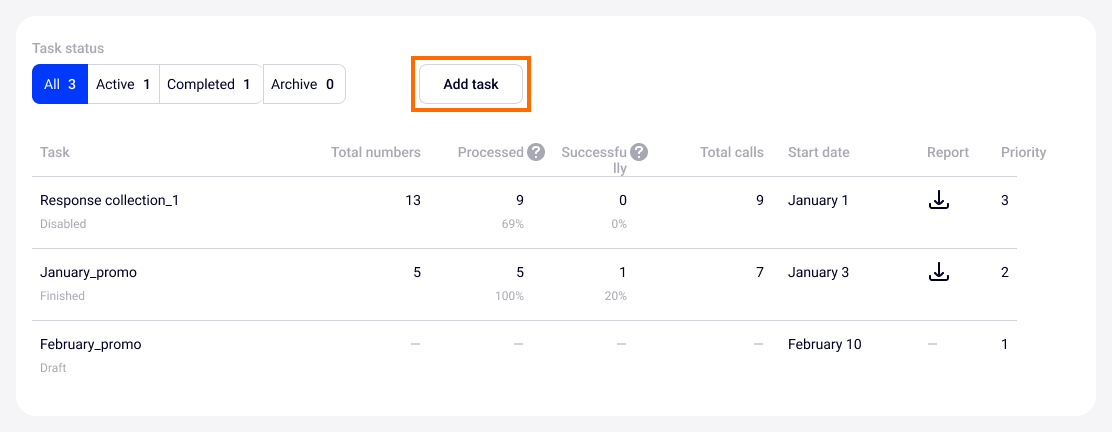
You can add a survey to existing tasks with the status: in progress, draft, disabled, awaiting start. It is impossible to add a response collection for finished tasks and tasks in the archive.
Read more about how to create and set up a task here.
3. Enable the Collect responses setting. In this case, the customer will first hear an audio message from the AVM, and then an invitation to take the survey.

Please note
By default, a sample survey is available in the “Setting up response collection” list. Use it as a template to create your own response collection or edit it to suit what you want to ask your customers.If you have already set up a response collection, you will see it in the list of available surveys and will be able to use it again. This will save you time when creating subsequent surveys.
How to Download Survey Results
The survey results are stored in AVM reports.
1. Open Automated Voice Messaging (AVM) — Tasks.
2. Click on the report download icon next to the needed task.
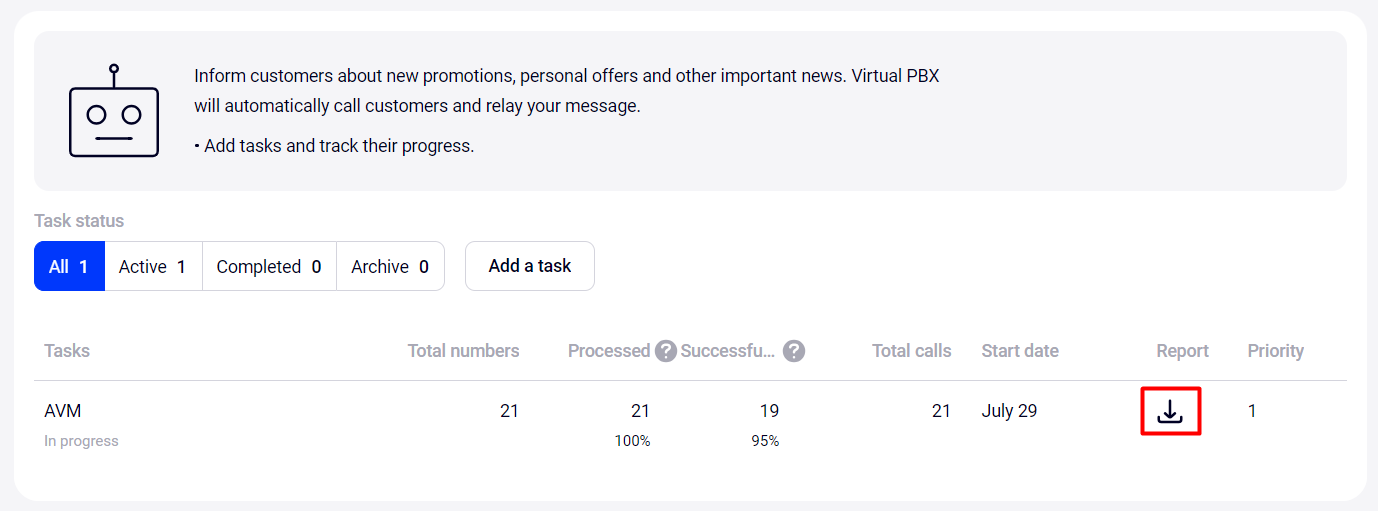
3. Choose how you want to group data in the report and its format.
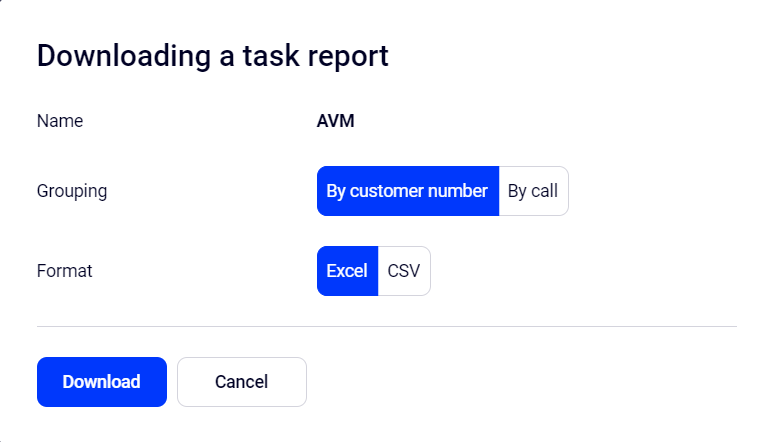
4. Click Save.
5. Open the downloaded file. In the Report column, you will see which button each customer pressed during the survey.

Use the data in the table to create a visual graph or chart showing the survey results.