How to Quickly Detect Issues in Bitrix24 Integration
If the Bitrix24 integration malfunctions, important data can be lost: requests, deals, and contacts. That’s why it’s critical to detect issues early and resolve them quickly. Cloud PBX provides two tools for this:
Integration Diagnostics Panels
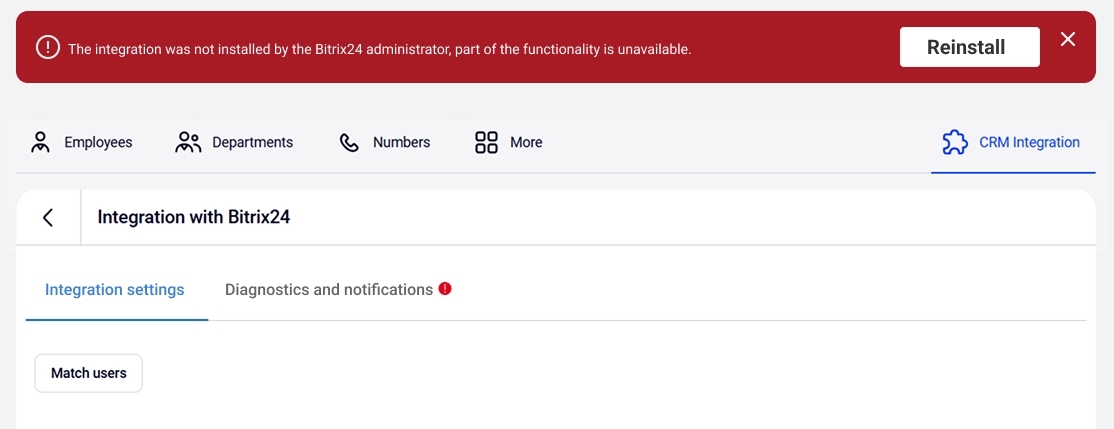
In the CRM Integration section, open Bitrix24. If you see an integration error notification at the top of Cloud PBX, click the Diagnostics and notifications tab marked with an exclamation icon.
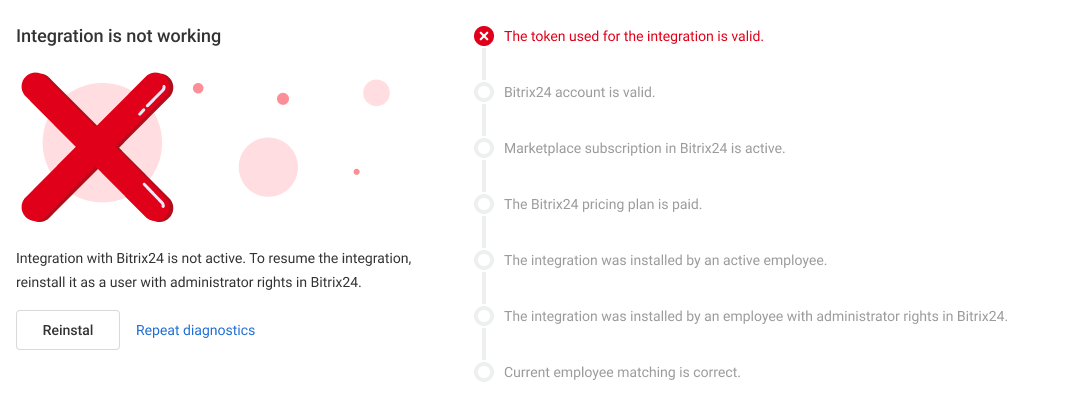
Once you open the tab, you’ll see the diagnostics screen, which helps identify integration issues and fix them quickly. The panel displays a list of criteria required for the integration to work properly. If the system detects an error during any step of the check, a red cross will appear next to the corresponding criterion.
On the left side of the list, you’ll also see the message Integration is not working and a button to resolve the issue. The button will either reinstall the integration or take you to the appropriate section in Cloud PBX or Bitrix24 settings.
After the issue is fixed, click Run diagnostics again to confirm that everything is working correctly.
If there are multiple issues, Cloud PBX will suggest solutions for each one. Repeat the steps described above for every error.
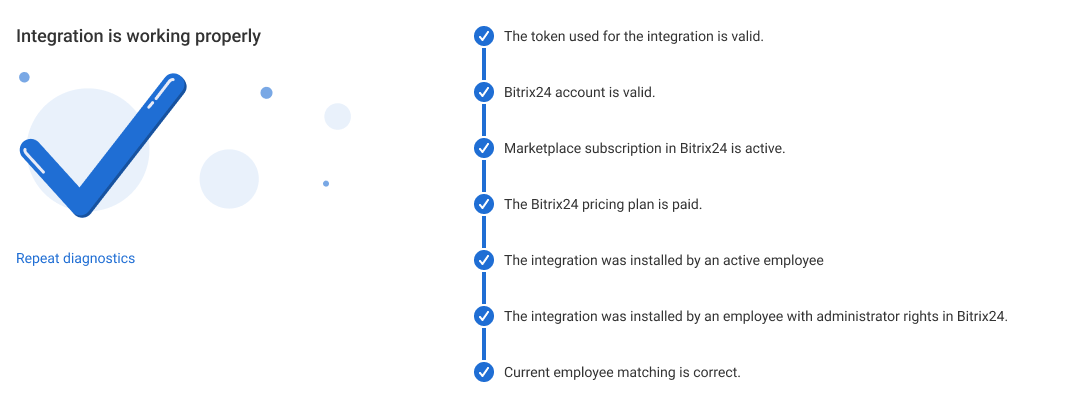
If everything is working correctly, you’ll see a checkmark and the message Integration is working properly.
Please note
We recommend checking the integration immediately after configuring or updating any settings, even if no issue notification appears.Notification Setup
1. In CRM Integration — Bitrix24, open the Diagnostics and notifications tab.

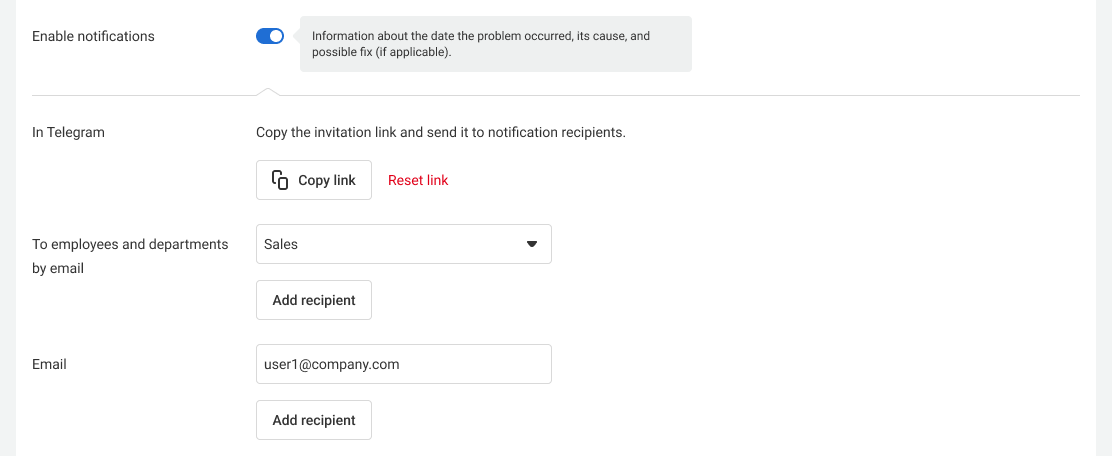
2. Enable notifications.

How to Set Up Telegram Notifications
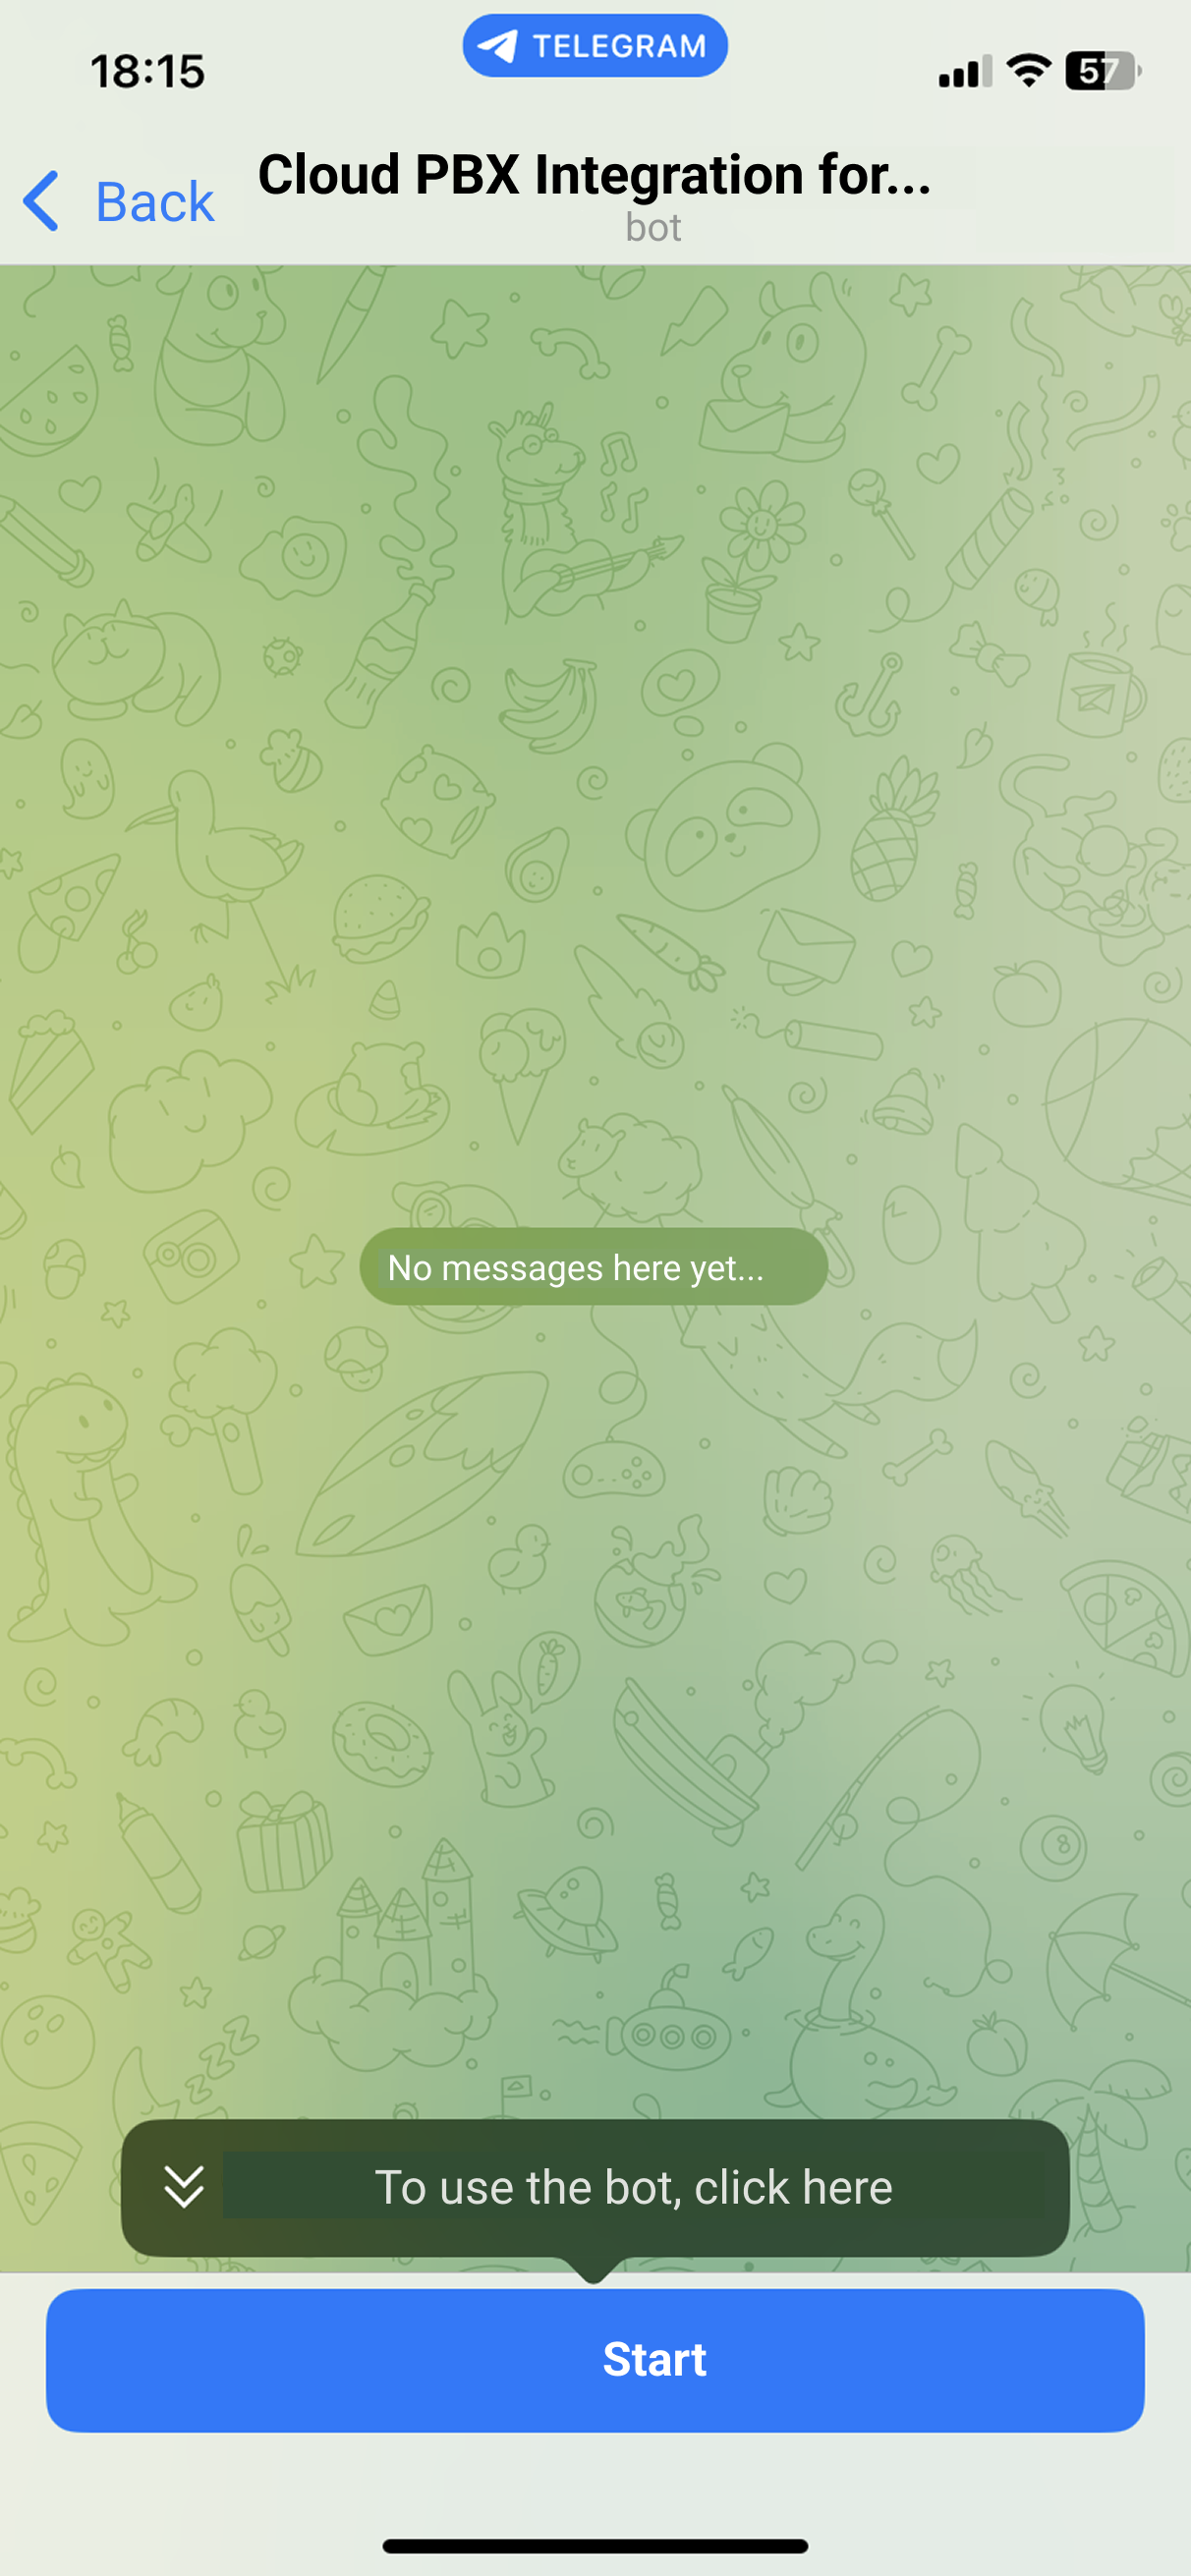
1. Copy the invitation link and share it with the recipients.

2. Open the link. To allow the bot to send you notifications, click Start.
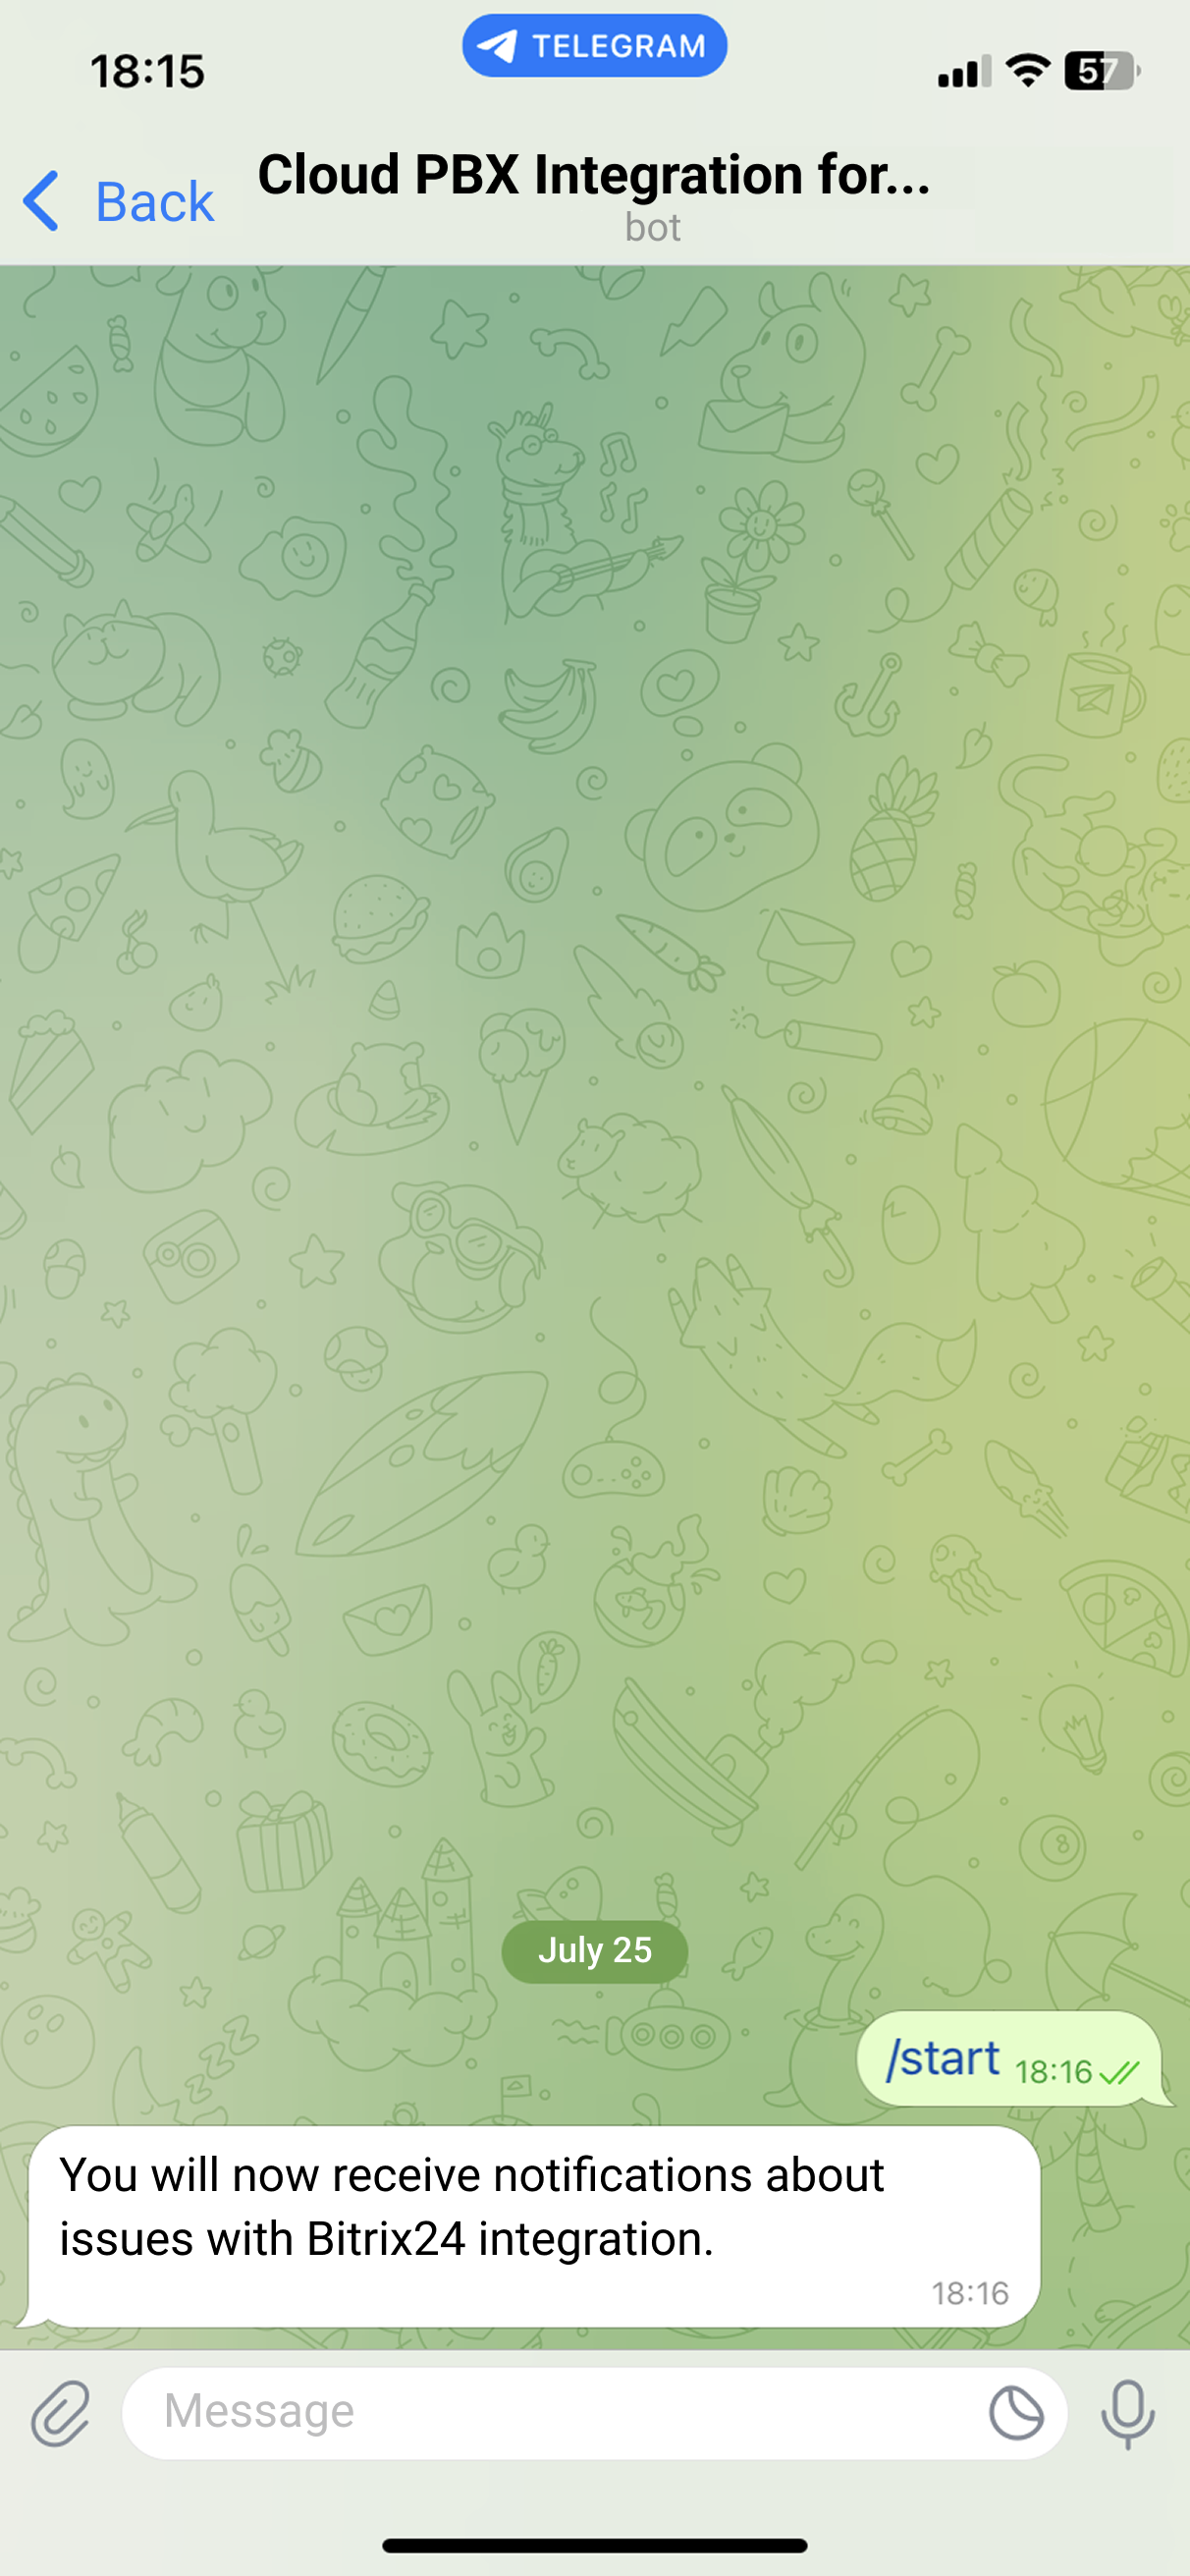
3. Wait for confirmation from the bot.
If some employees leave the company, you can update the bot link.
How to Set Up Email Notifications
Select employees and departments, or enter email addresses manually.
After setting up the recipients, click Save at the bottom of the page.
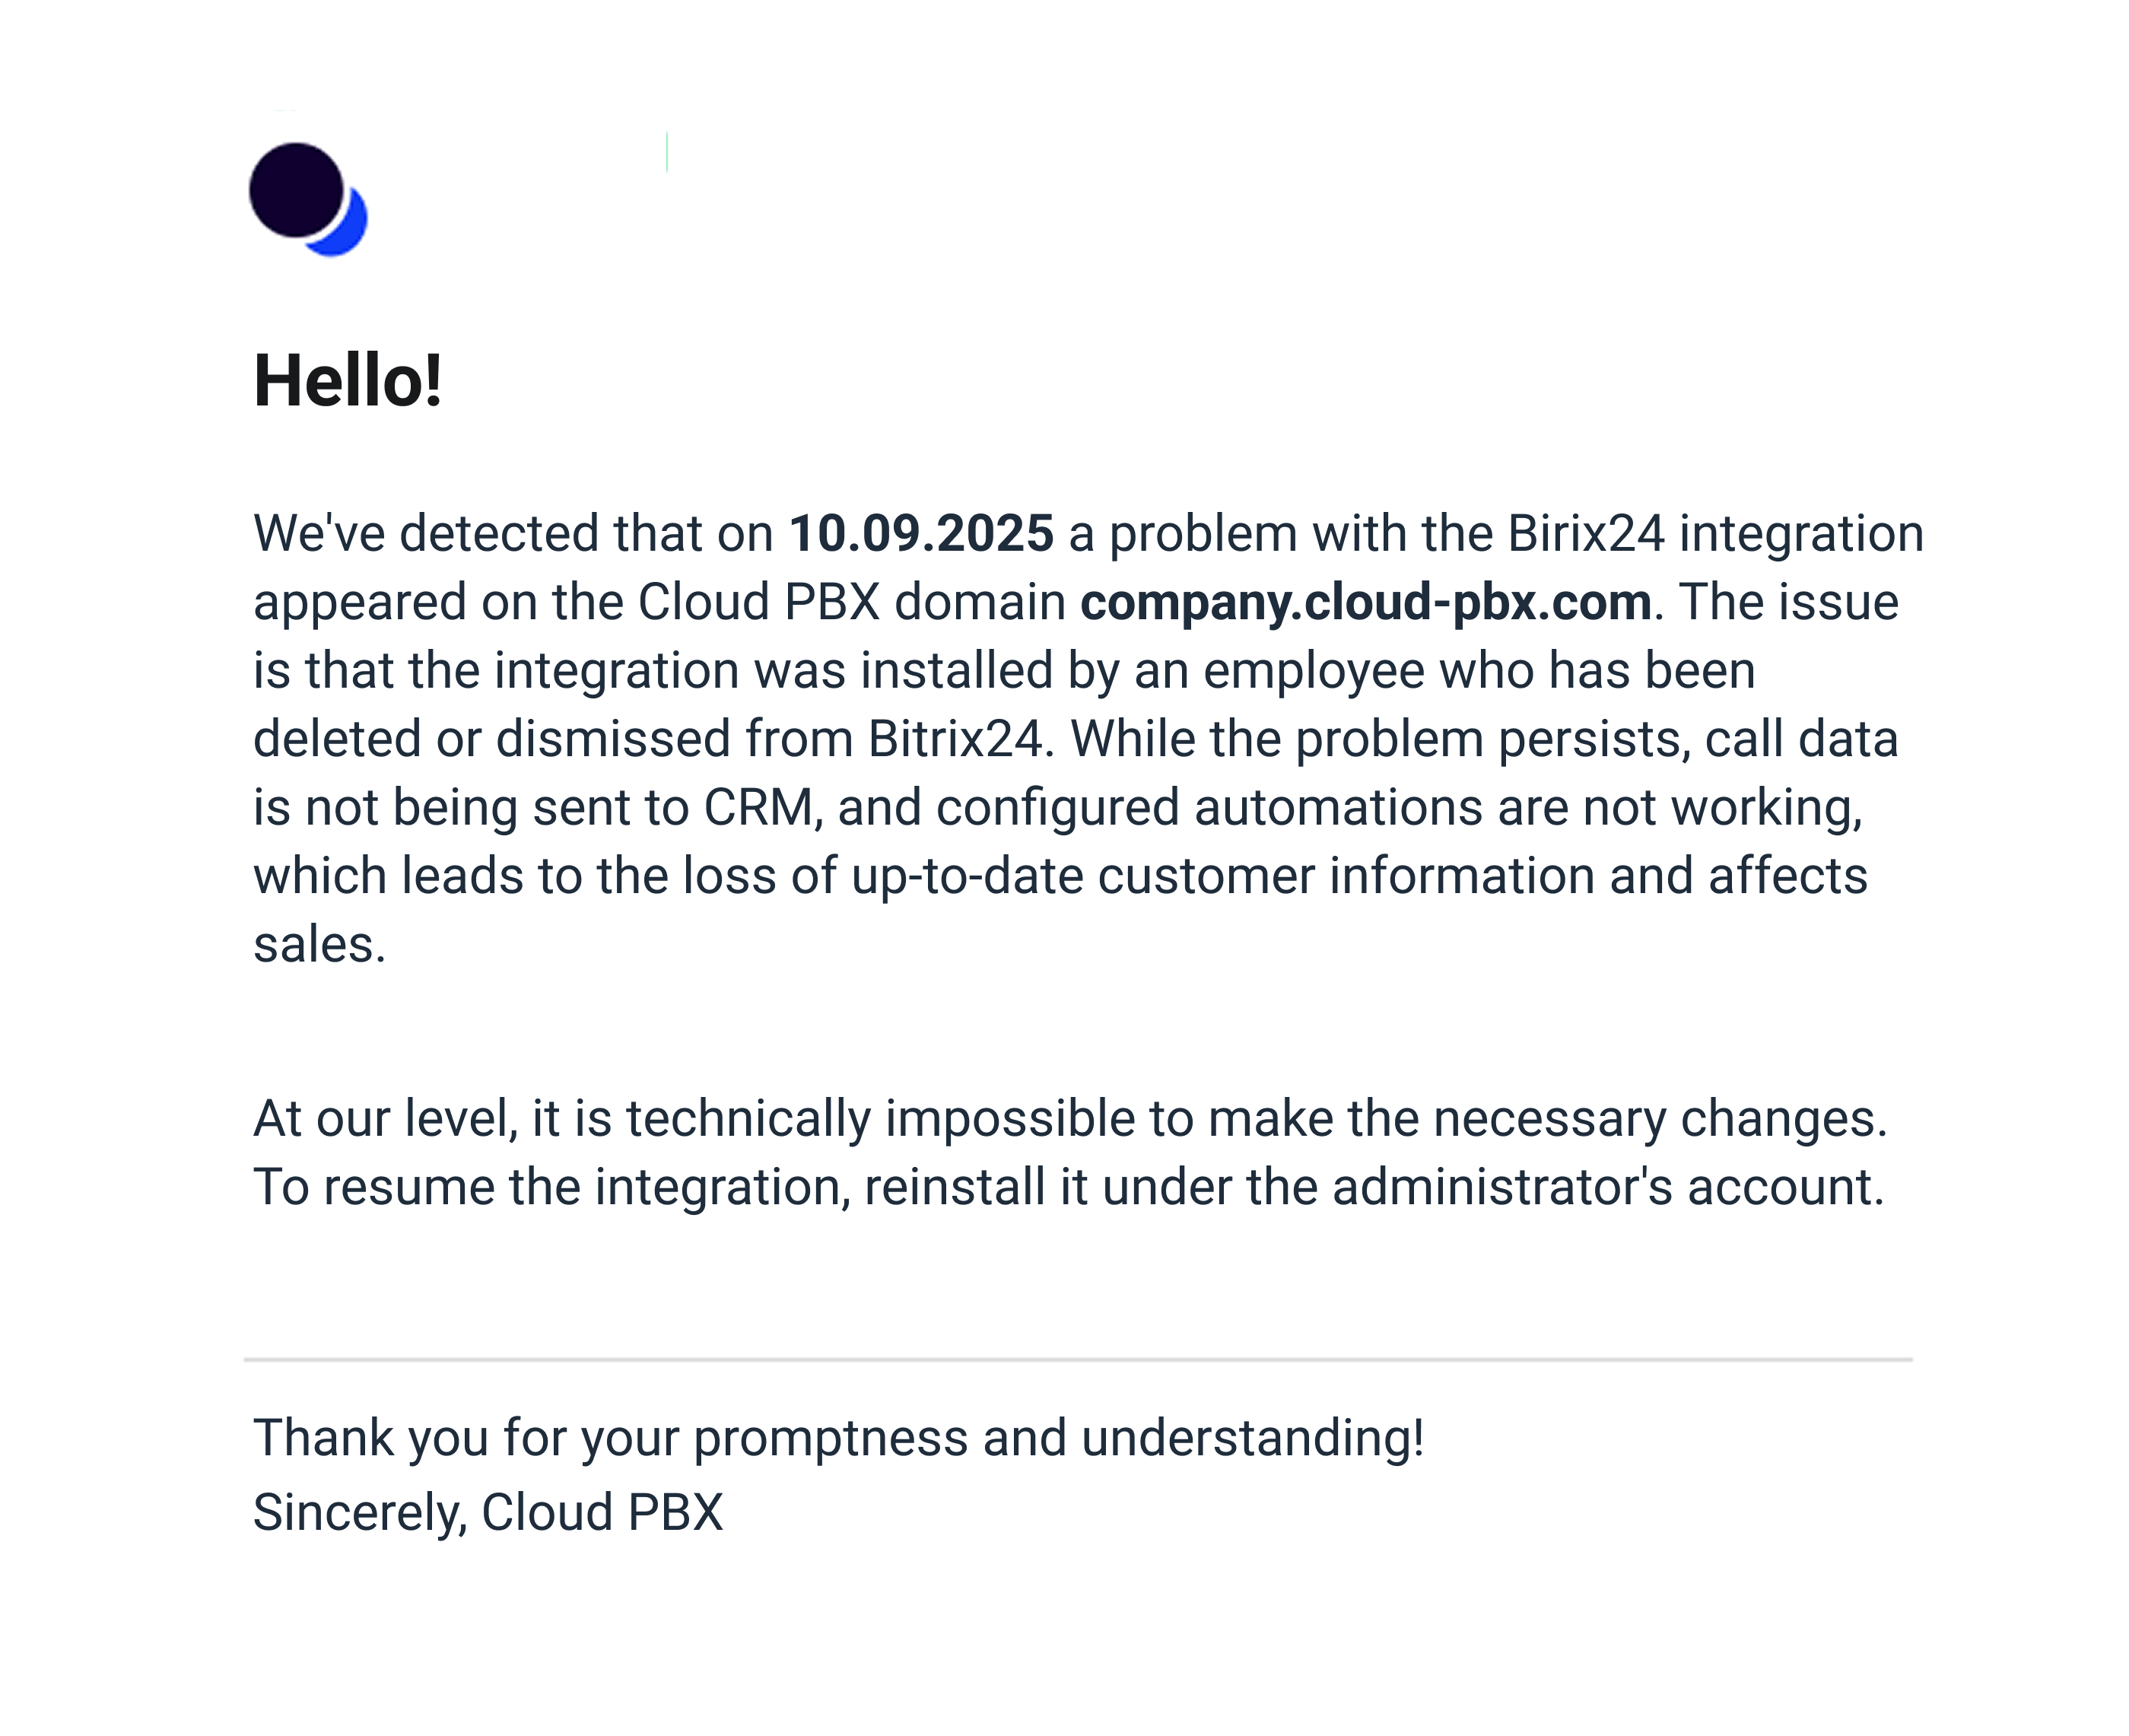
An email notification about a Bitrix24 integration issue will look like this: