Contacts
Contacts is a customer database in Cloud PBX, accessible to the entire team. With Contacts, an employee will see the customer’s name on an incoming call in Communicator and Mobile App, and it will be easier for a supervisor to track how employees communicate with key customers.
Main Features of Contacts
Displaying the customer's name on incoming calls. Increase customer loyalty by addressing them by name — when receiving an incoming call in Communicator, a pop-up card with key contact information appears.

Displaying the customer's name in History. After adding a contact, the name and company of the customer will be displayed in the history for all their calls. This makes it easier for the supervisor to understand who employees spoke with during the day.
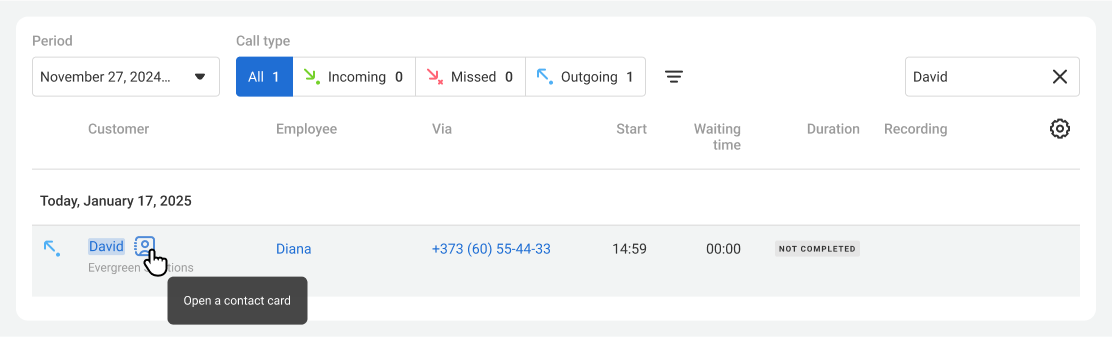
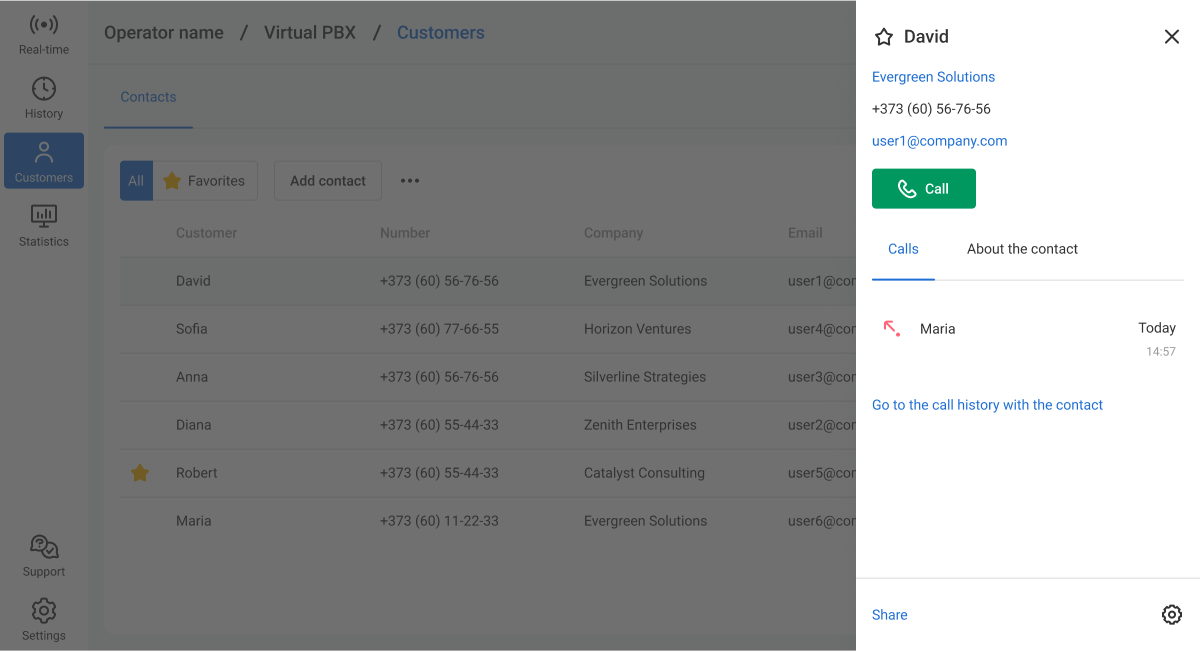
Everything you need for the call — on a single screen.. If you see a missed call from a customer, click the icon next to their name to review their key information. In addition to the contact information, the contact card displays the latest 5 calls with that customer, helping you better prepare for the conversation. You can also make a call directly from the card by clicking the Call button.
You will receive a call from Cloud PBX, and when you pick up, the call will be forwarded to the customer.
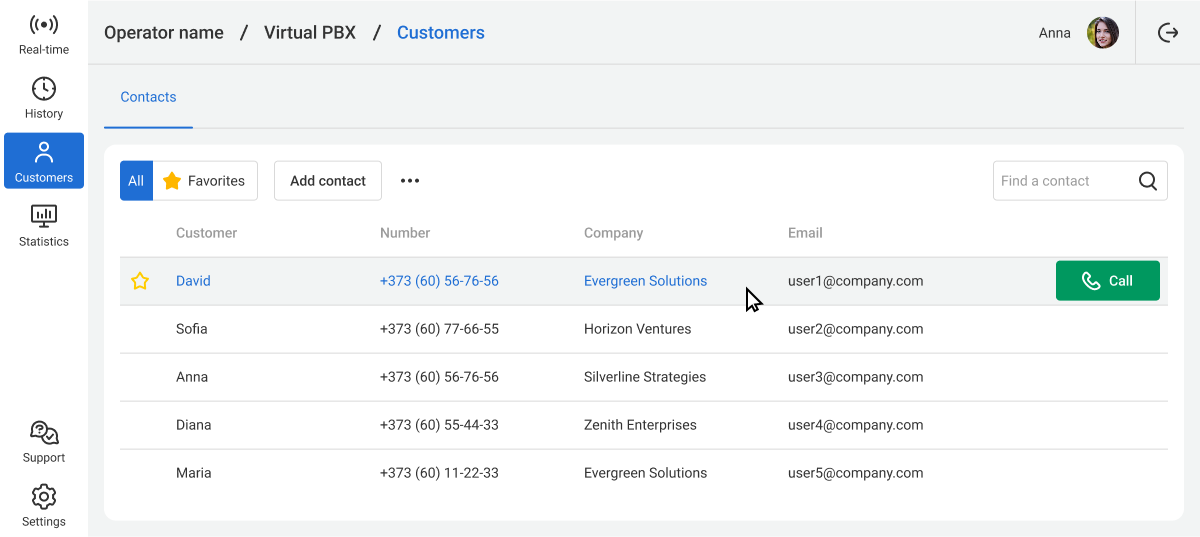
Shared access to contacts for the team. Key customer information is available to every Cloud PBX user in the Customers section of the web interface and Communicator. To open a customer’s card, simply click on their name in the general list.
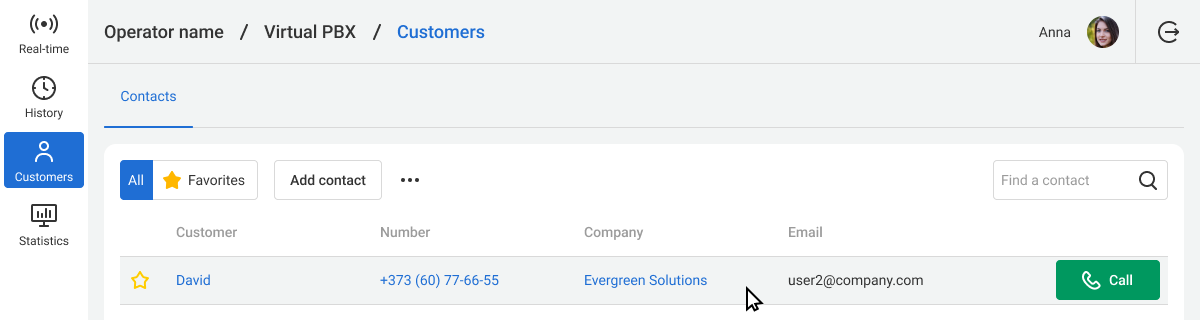
You can also call any contact directly from this section without opening the card — when you hover over a contact, a Call button appears on the right.
Adding contacts manually and via XLS file import. Add contacts in a way that is convenient for you: from the call history or in the Customers section. You can also import a large contact database at once.
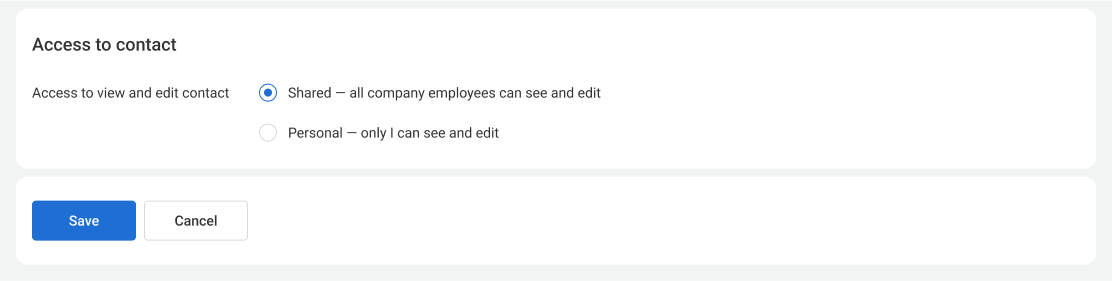
Personal access to important contacts. To keep personal contacts of other supervisors private, you can restrict access to them — such contacts will be visible only to you.
Below we will go into detail about all capabilities of Contacts.
How to Add a Contact From the Call History
1. Hover over the customer’s phone number in History. Click the icon to the right of the number.

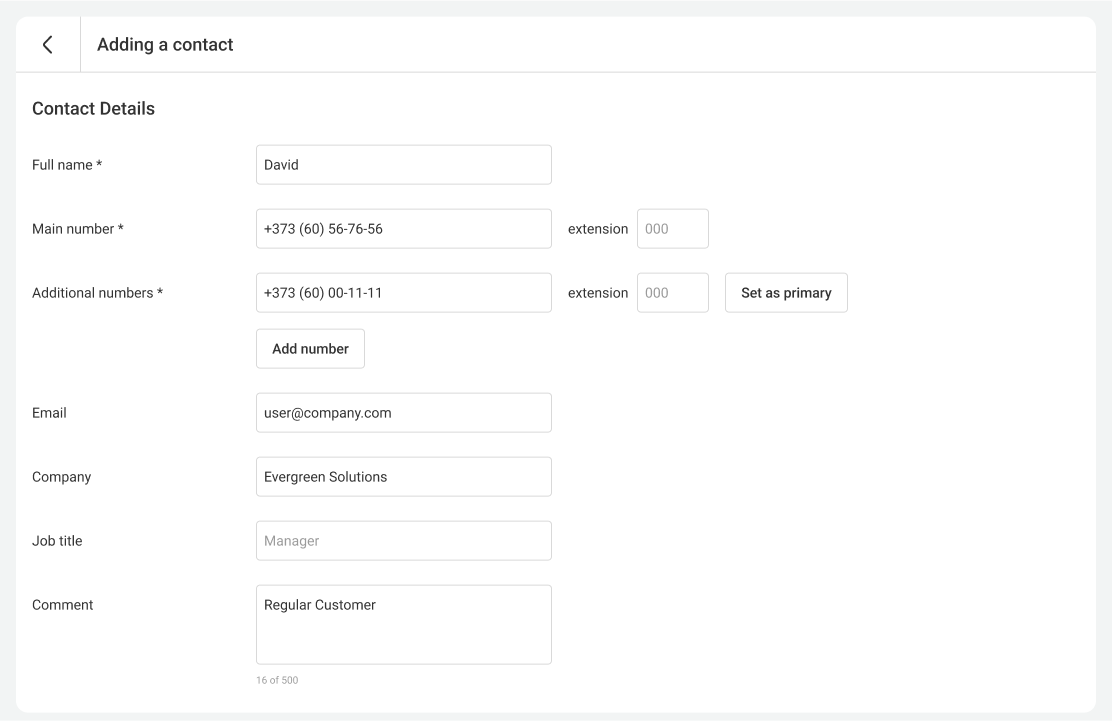
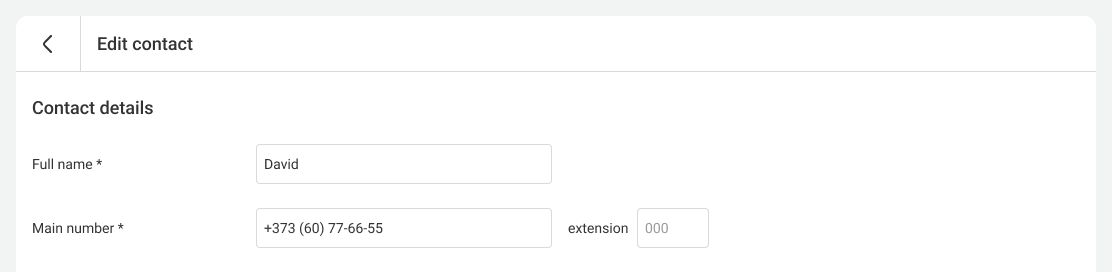
2. A window to add a new contact will open. Enter the customer’s main details: full name, additional phone numbers, email, company name, position.
If the number is already used in other contacts, Cloud PBX will notify you. To see these contacts, click the duplicate count indicator. click the duplicate count. A separate browser tab will open the Customers section with a search for the entered number.

To avoid manually entering the customer’s extension number each time you call the company primary number, specify the extension number directly in the contact.
By default, Cloud PBX will call the customer’s primary number, but you can also add additional numbers. To make an additional number the primary one, click the Set as Primary button.
More details on calling additional numbers are covered in the How to call additional customer’s numbers section.
After entering the customer’s details, click Save. All calls from the saved contact will be automatically named — their name will appear in the history.
How to Add a Contact in the Customers Section
1. In the Customers section, click Add сontact.

2. The same window to add a contact will open as when creating a contact from the call history. Fill in the fields in the same way and click Save. The contact will appear in the general contact list in the Customers section.
How to Import a Contact Database from an XSL File
1. In the Customers section, click the three dots to the right of the Add contact button.

2. Download the Excel file template.

3. Fill in the necessary information for new contacts in the downloaded file and save your changes.

4. Return to the Cloud PBX interface and upload the updated file.

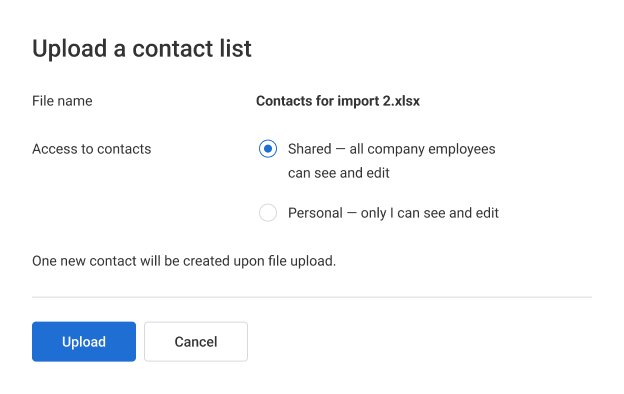
5. Choose who should have access to this contact list — only you or all company employees.
6. Confirm the contact list upload by clicking the Upload button.
When uploading an XSL file with contacts, two types of errors may occur:
- The file does not contain a sheet named Contacts.

- Errors within the contacts themselves — in this case you can import only the correctly formatted contacts into Cloud PBX and download a file with the errors.
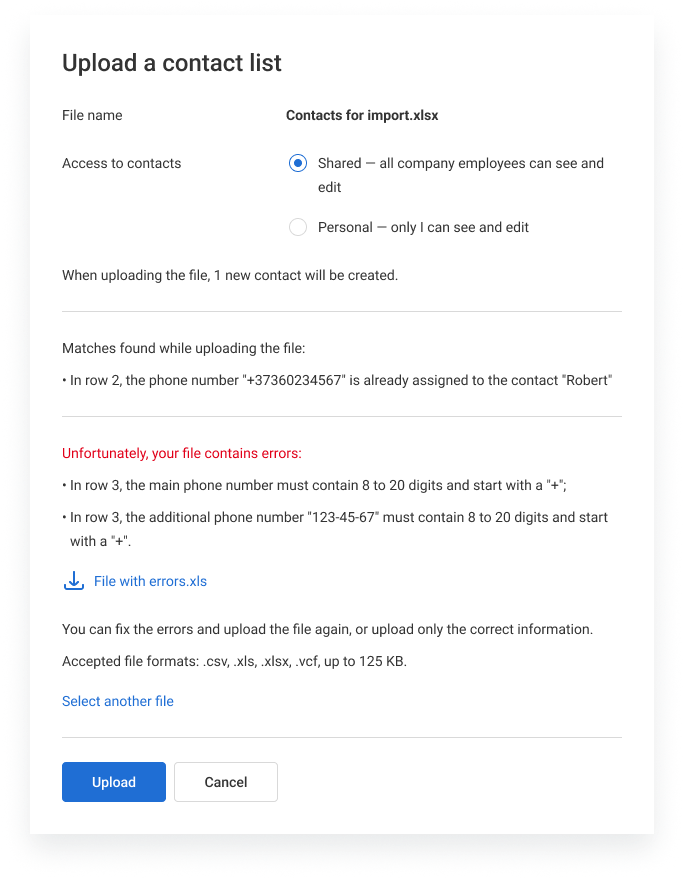
The downloaded file will contain only the rows with errors and comments on what needs correcting. You can make the necessary changes in the same file and upload it back to Cloud PBX.

How to Add Contacts from Communicator
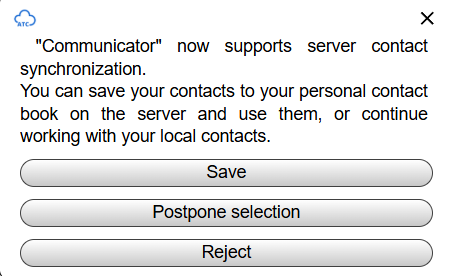
Contacts will be displayed in Communicator by default. You can also configure it so that all contacts created in Communicator appear in the web interface (server contacts). When you log in to Communicator, a pop-up window will appear. If you click Save, the current contacts from Communicator will be added to the web interface as personal contacts. This will also apply to any new contacts you add in the Communicator later on.
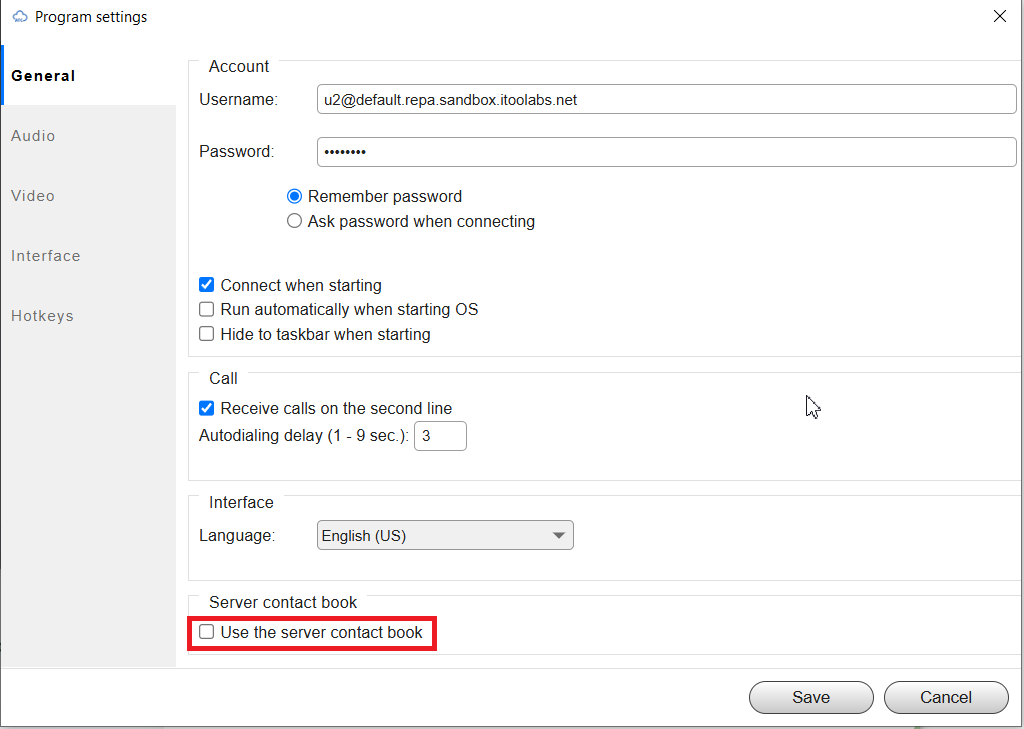
If you previously declined synchronization in the pop-up window, you can enable it in the Communicator settings in the General section. At the bottom of the screen, check the box next to Use the server contact book.
How to Edit a Contact
1. Open the contact card in the call history or in the Customers section.
2. Click the gear icon in the bottom right corner.

3. The contact editing window will open. Make the necessary changes and click Save.
To delete a contact you created, click Delete in the bottom right corner of the editing window.
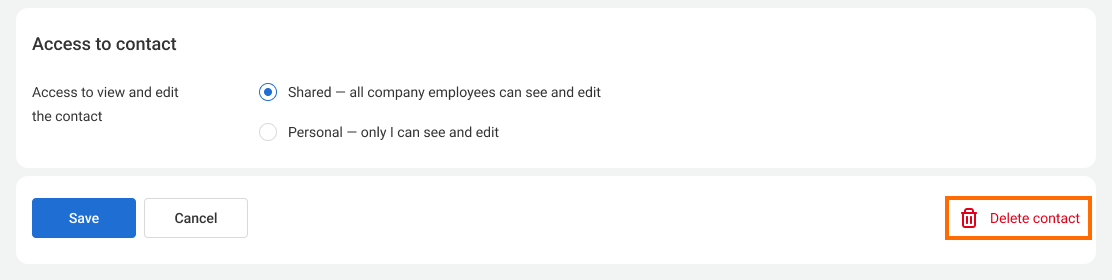
Please note: You can only delete contacts that you created yourself.
How to Find Specific Contacts
To find a specific contact, start typing any of the following details in the search bar in the Customers section: name, phone number, email address, company name or a comment.
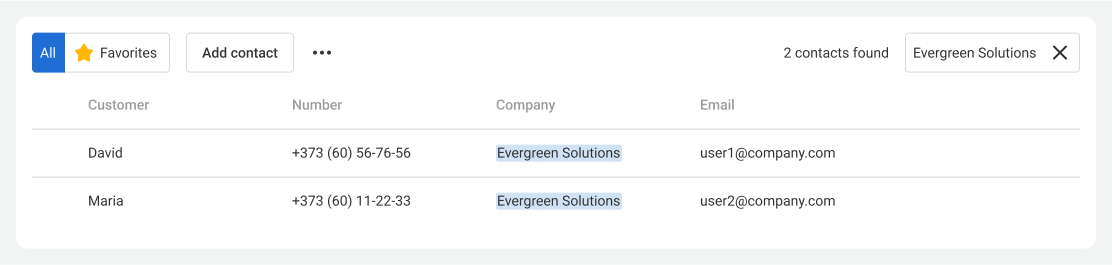
If you want to quickly find all contacts of a specific company, click the company name in the customer's card.

How to Add a Contact to Favorites
To quickly access the contacts you call most often, add them to your favorites. You can do this in both the Customers section and the call history. To add a contact to favorites, click the star icon to the left of the contact's name.

To view your favorite contacts, in the Customers section select the Favorites tab.

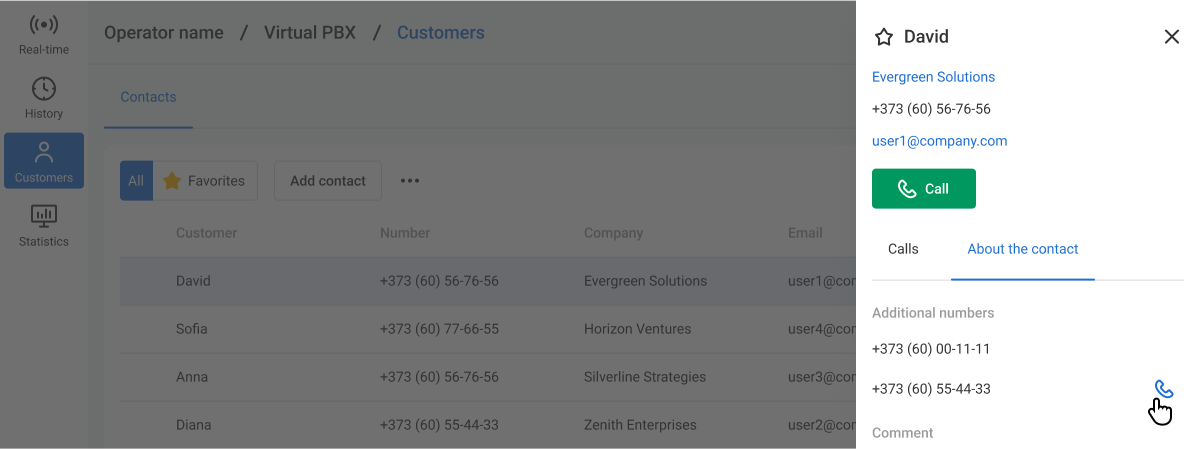
How to Call a Contact's Additional Number
1. Open the contact card in the call history or in the Customers section.
2. Go to the About the contact tab.
3. Click the phone icon to the right of the additional number.
How to Share a Contact
1. Open the contact card in the call history or in the Customers section.
2. Click Share in the bottom left corner and choose what you want to do:
- Copy contact link — clicking the link will open the contact card. The link will only be accessible to Cloud PBX users. This approach only works for shared contacts. For personal contacts, this option will instead provide the ability to make the contact shared.
- Copy main data — this will copy the full name, primary and additional phone numbers, company, position and email address.
- Download as .vcf file — this electronic business card format will save all the details from the contact card.

How to Send an Email to a Contact from Cloud PBX
To quickly send an email to a contact from Cloud PBX, click the contact's email address in their contact card.

A new window for entering a new message to the selected contact will open in your default email client.