Branches
In the Branches section of the branch management dashboard, you can view summarized data for all your company's PBXs. Moreover, you can create, configure, and delete branches.
The summary table displays the number of employees, departments, phone numbers, and callback widgets in each branch, along with:
- General limits for creating employees and callback widgets across the entire company.
- Total in branches: the overall number of employees, departments, numbers, and widgets already created across all branches.
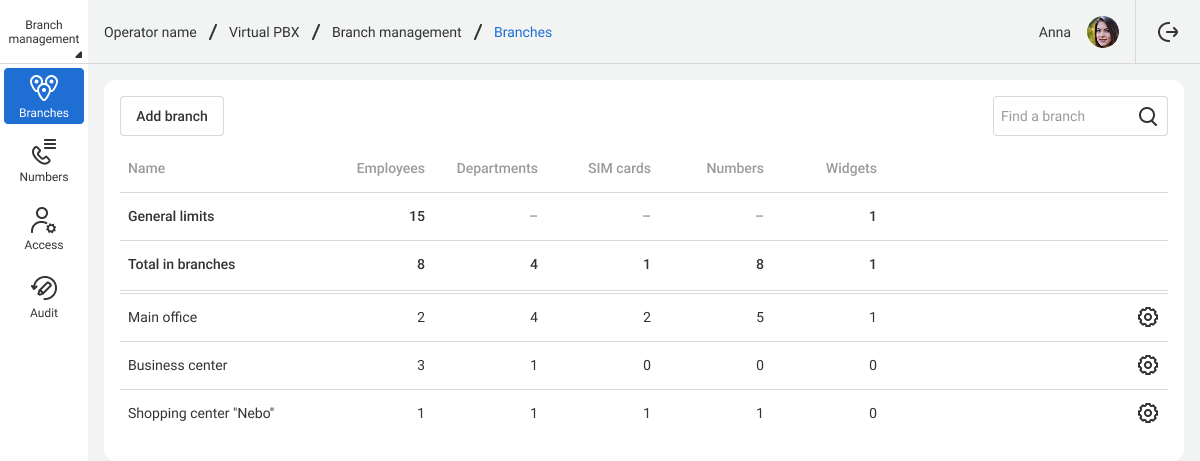
To open a branch's domain in a new tab, click the branch name in the first column. Use your account details to access it.
You can use the search bar to find the desired branch more quickly if you have many branches.
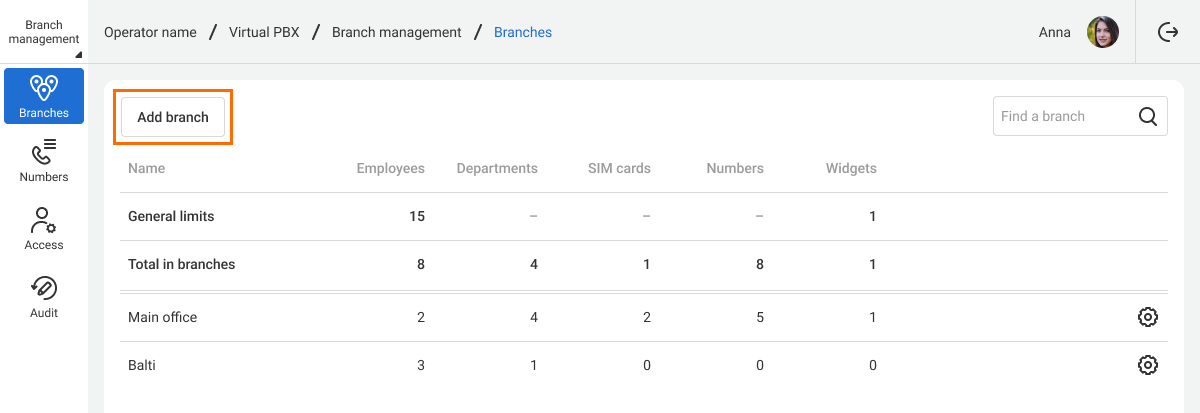
How to Create a New Branch
1. Click the Add branch button.
2. Enter the branch name and code. The code is required for internal calls: to contact a colleague from another branch, an employee must first dial the branch code followed by the colleague's extension number.
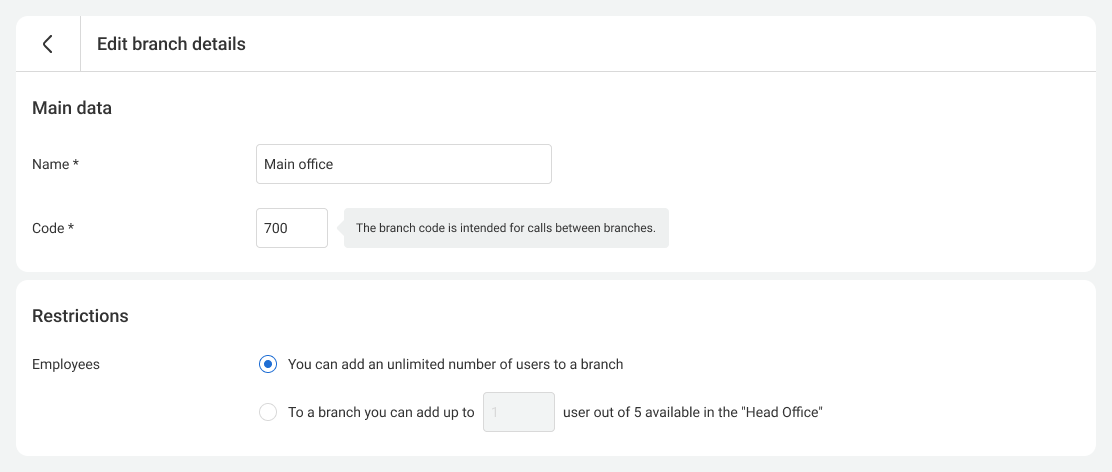
3. In the Restrictions section, you can set a limit for adding employees. By default, each specific branch can add as many users as the company's overall limit allows.
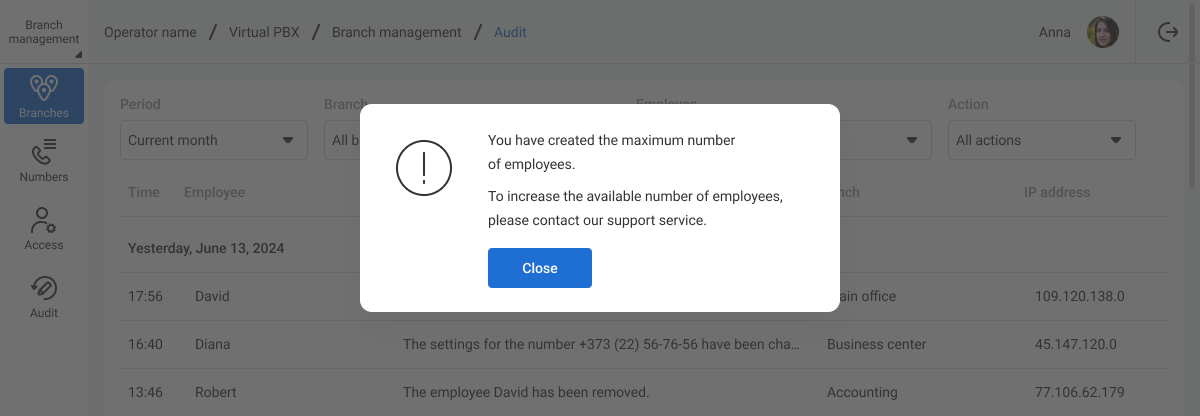
If you attempt to add a new employee beyond the limit, you will see the following warning on the domain.
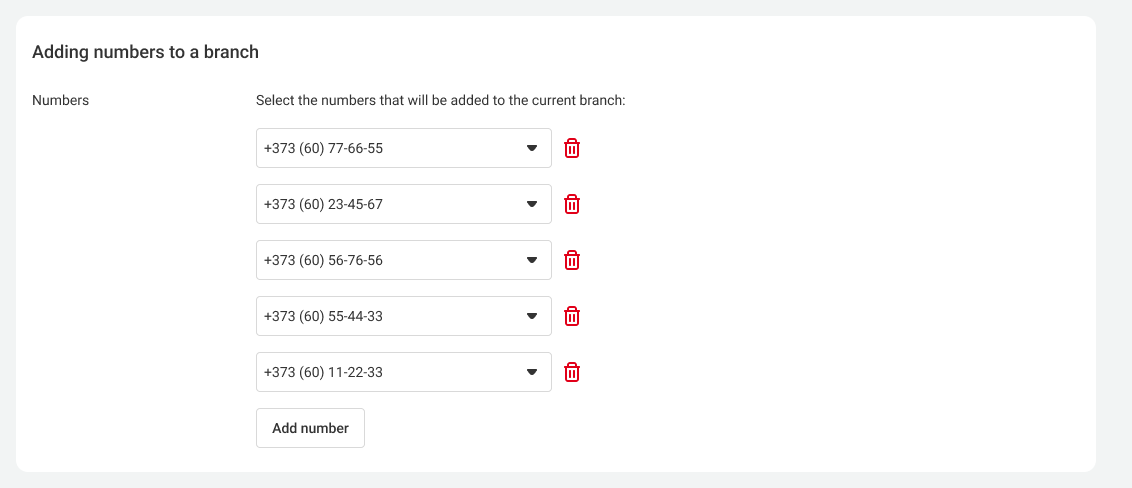
4. To add another phone number, click the Add number button. To delete an accidentally added number, click the trash can icon on the right.
5. Configure access to the branch. You can add new administrators and managers from employees with Cloud PBX usernames.
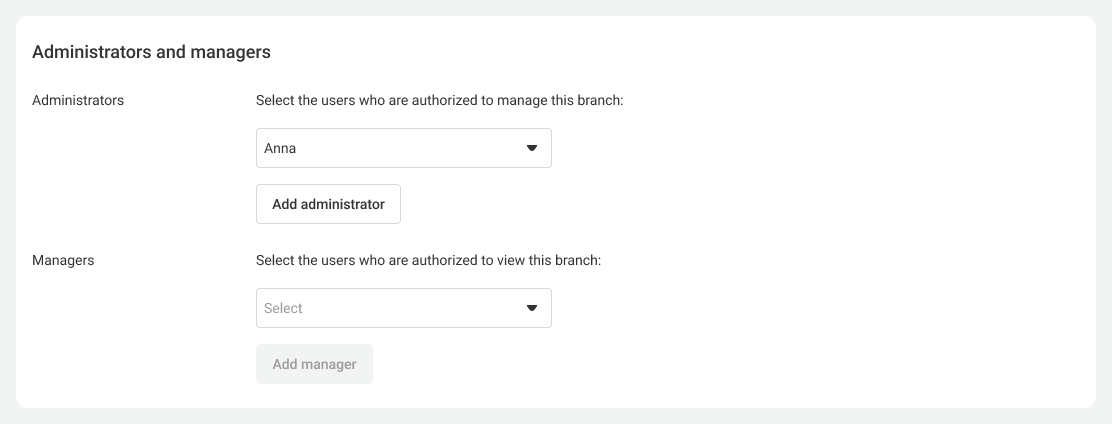
For a detailed description of all roles that can manage branches, refer to the Access article.
6. Click the Save button at the bottom of the page. The new branch will appear in the list of all branches.
How to Edit Branch Settings
1. To access the settings of a specific branch, click the gear icon in the corresponding row.

2. The same sections that appear when creating a branch will open. You can change the branch name and code, set employee limits, add or remove phone numbers, and configure access.
3. Click the Save button at the bottom of the page to save your changes.
If you want to delete a branch, click the trash can icon at the bottom of the same page.
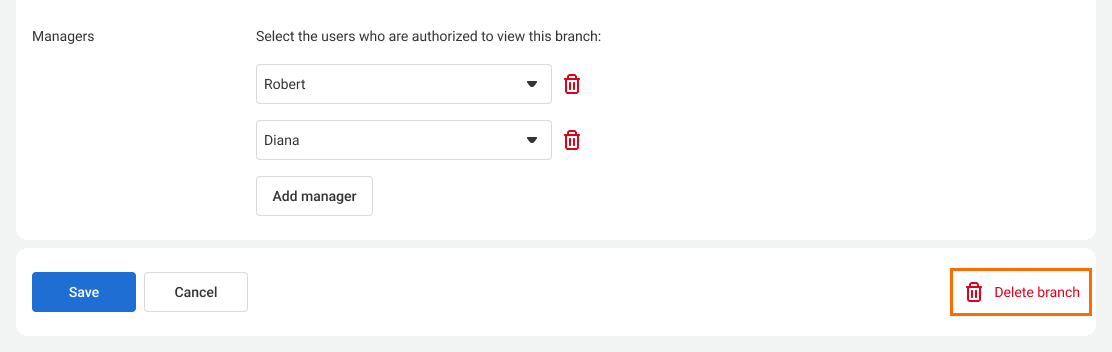
Please note: You can delete any branch except the Head Office.
Other Settings
- For the overview of the branch management dashboard and its main features, refer to the Branch Management article.
- In the Numbers section, you can assign phone numbers to branches.
- In the Access section, you can configure access to multiple branches at once.