Branch Numbers
The branch management dashboard has the Numbers section, where you can view summarized data for all the company's phone numbers and distribute them among branches.
To access this section, click the Numbers tab in the dashboard's sidebar.
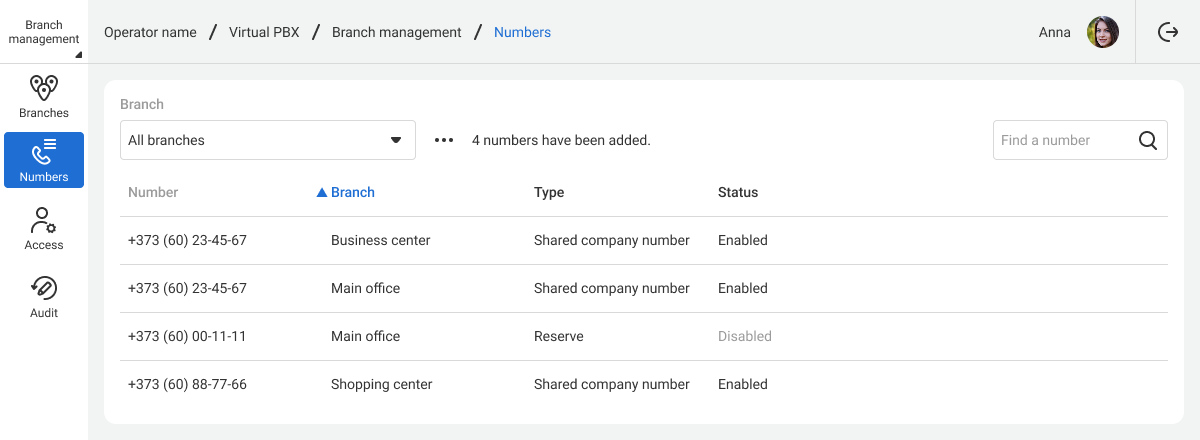
In the open table, you can see how the company's numbers are distributed among branches. In addition to the branch name, the following details are displayed for each number:
- Type: Shared company number, AVM, or reserve (a number not assigned to any branch).
- Status: disabled or enabled. A number can be disabled in the branch's number settings or the branch management dashboard by adding it to the reserve.
Adding a Number to a Branch
To move a number to a branch domain, click the row with the desired number. In the drop-down list, select the name of the corresponding branch.
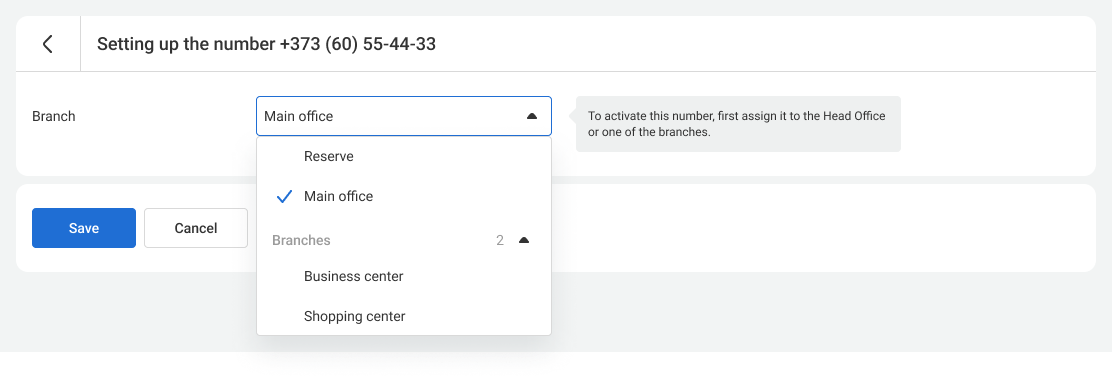
After making the changes, click the Save button.
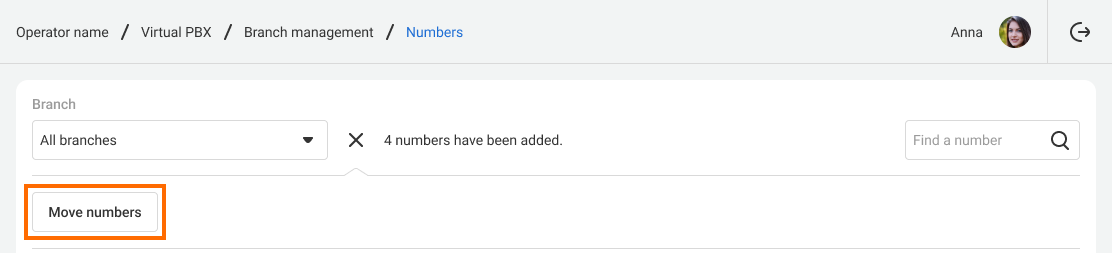
Adding Multiple Numbers to a Branch
In the Numbers section, you can move multiple numbers to one branch or the reserve at once. To do this, follow these steps:
1. Click the three dots next to the Branch filter.

2. Click the Move numbers button that appears below the filter.
3. Check the boxes next to the numbers you want to move. Also, select the destination from the drop-down list.
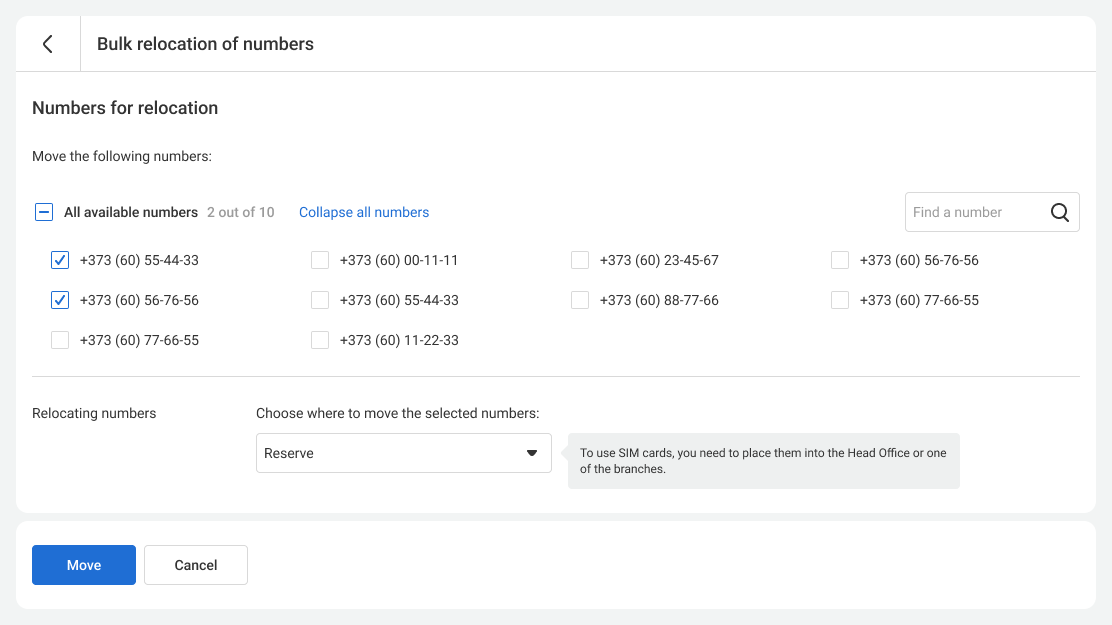
4. Click the Move button. The selected numbers will now belong to the specified branch.
Other Settings
- For the overview of the branch management dashboard and its main features, refer to the Branch Management article.
- In the Branches section, you can view summarized data for all the company's PBX systems. Besides, you can create, configure, and delete branches.
- In the Access section, you can configure access to multiple branches at once.